
It has been a while since I’ve completed a new crocheted project – I didn’t realize it would be so quick to put together this plush! I’ve written a rough pattern for anyone to try it out.
I feel like making a series of not-too-popular pokemon amigurumi. If you have any suggestions for some unloved pokemon, send a comment to this post!
Crochet hook: us 5
Short forms:
- Rnd = rounds
- Sc = single crochet
- Dc = double crochet
- Rep = repeat
- Sc 2 in 1 = single crochet two in one, increasing crochet total
- Dc 2 in 1 = double crochet two in one, increasing crochet total
- Sc 2 tog = single crochet 2 together, reducing crochet total
- Dc 2 tog = double crochet 2 together, reducing crochet total
- Ch = chain
Part 1: Head
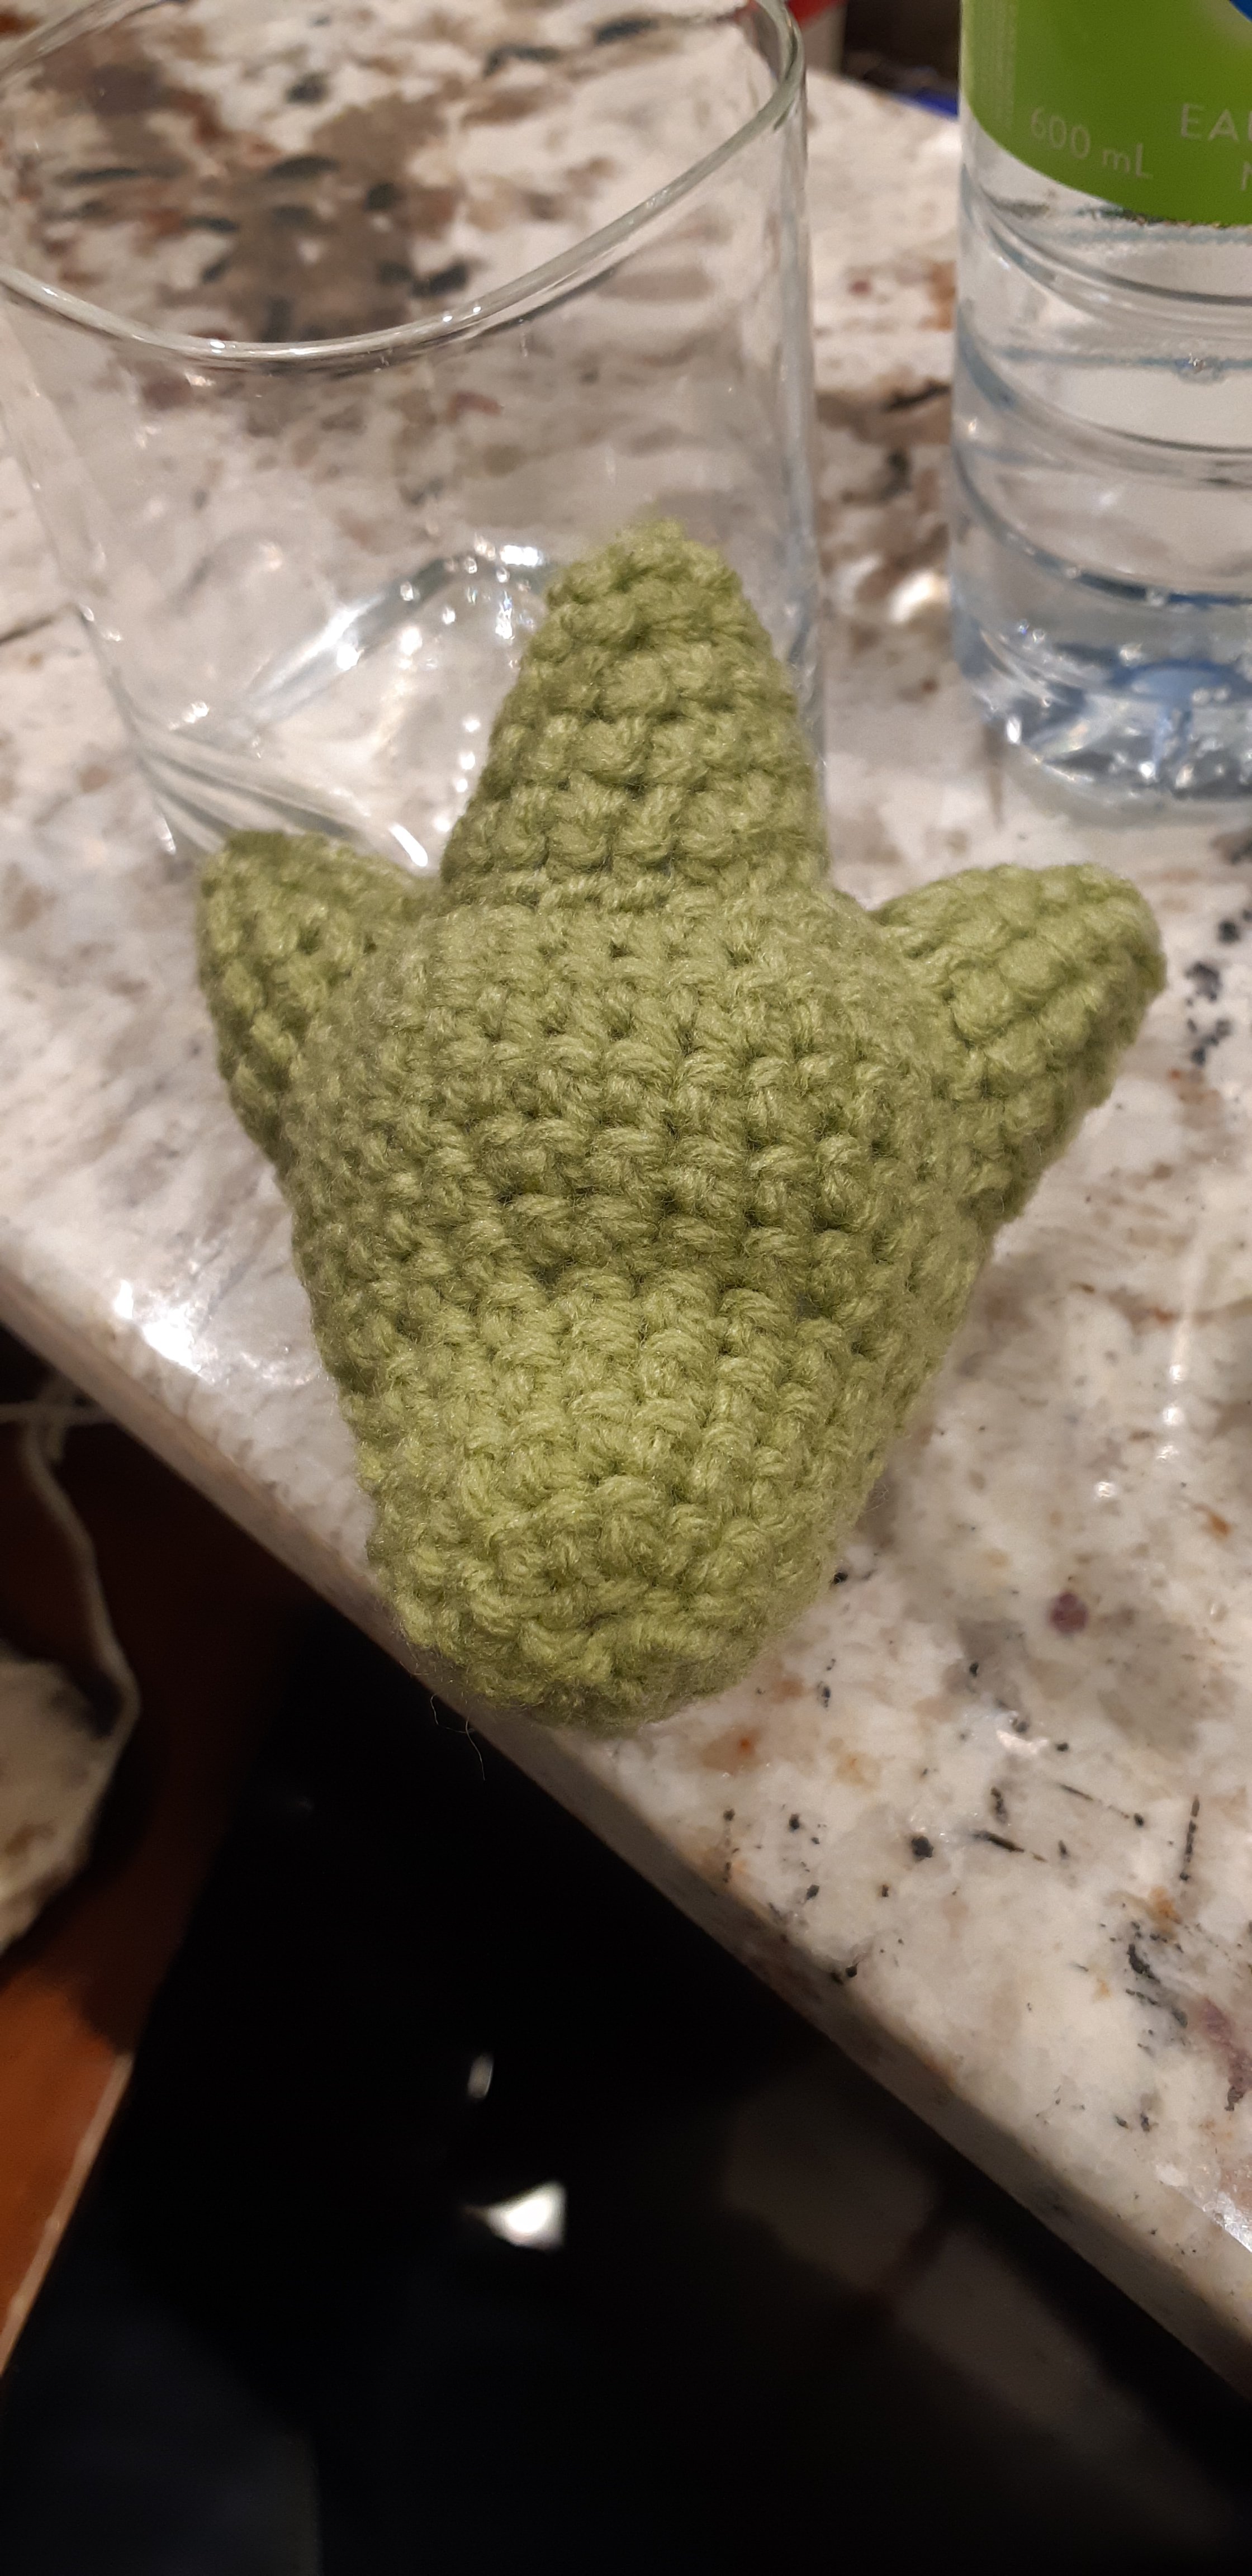
Spikes (make 3):
Chain 3, join end to begin rnds
Rnd 1: [sc 2 in 1] rep 3
Rnd 2: [sc 2 in 1, sc 1] rep 3
Rnd 3: [sc 2 in 1, sc 2] rep 3
Rnd 4: [sc 2 in 1, sc 3] rep 3
Rnd 5: [sc 2 in 1, sc 4] rep 3; break yarn and slip through last crochet
Head base:
Chain 6, join end to begin rnds
Rnd 1: [sc 2 in 1] rep 6
Rnd 2: [sc 2 in 1, sc 1] rep 6
Rnd 3: sc 18
Rnd 4: dc 9, sc 9
Rnd 5: [dc 2 in 1, dc 2] rep 3, [sc 2 in 1, sc 2] rep 3
Rnd 6: [dc 2 in 1, dc 3] rep 3, [sc 2 in 1, sc 3] rep 3
Rnd 7: [dc 2 in 1, dc 4] rep 3, [sc 2 in 1, sc 4] rep 3
Rnd 8: dc 18, sc 18
Rnd 9: [sc 2 tog, sc 4] rep 6
Rnd 10: [sc 2 tog, sc 3] rep 6
Rnd 11: [sc 2 tog, sc 2] rep 6
Rnd 12: [sc 2 tog, sc 1] rep 6
Rnd 13: [sc 2 tog] rep 6; break yarn and slip through last crochet
Stitch the three spikes onto the head base to form the head.
Part 2: Body
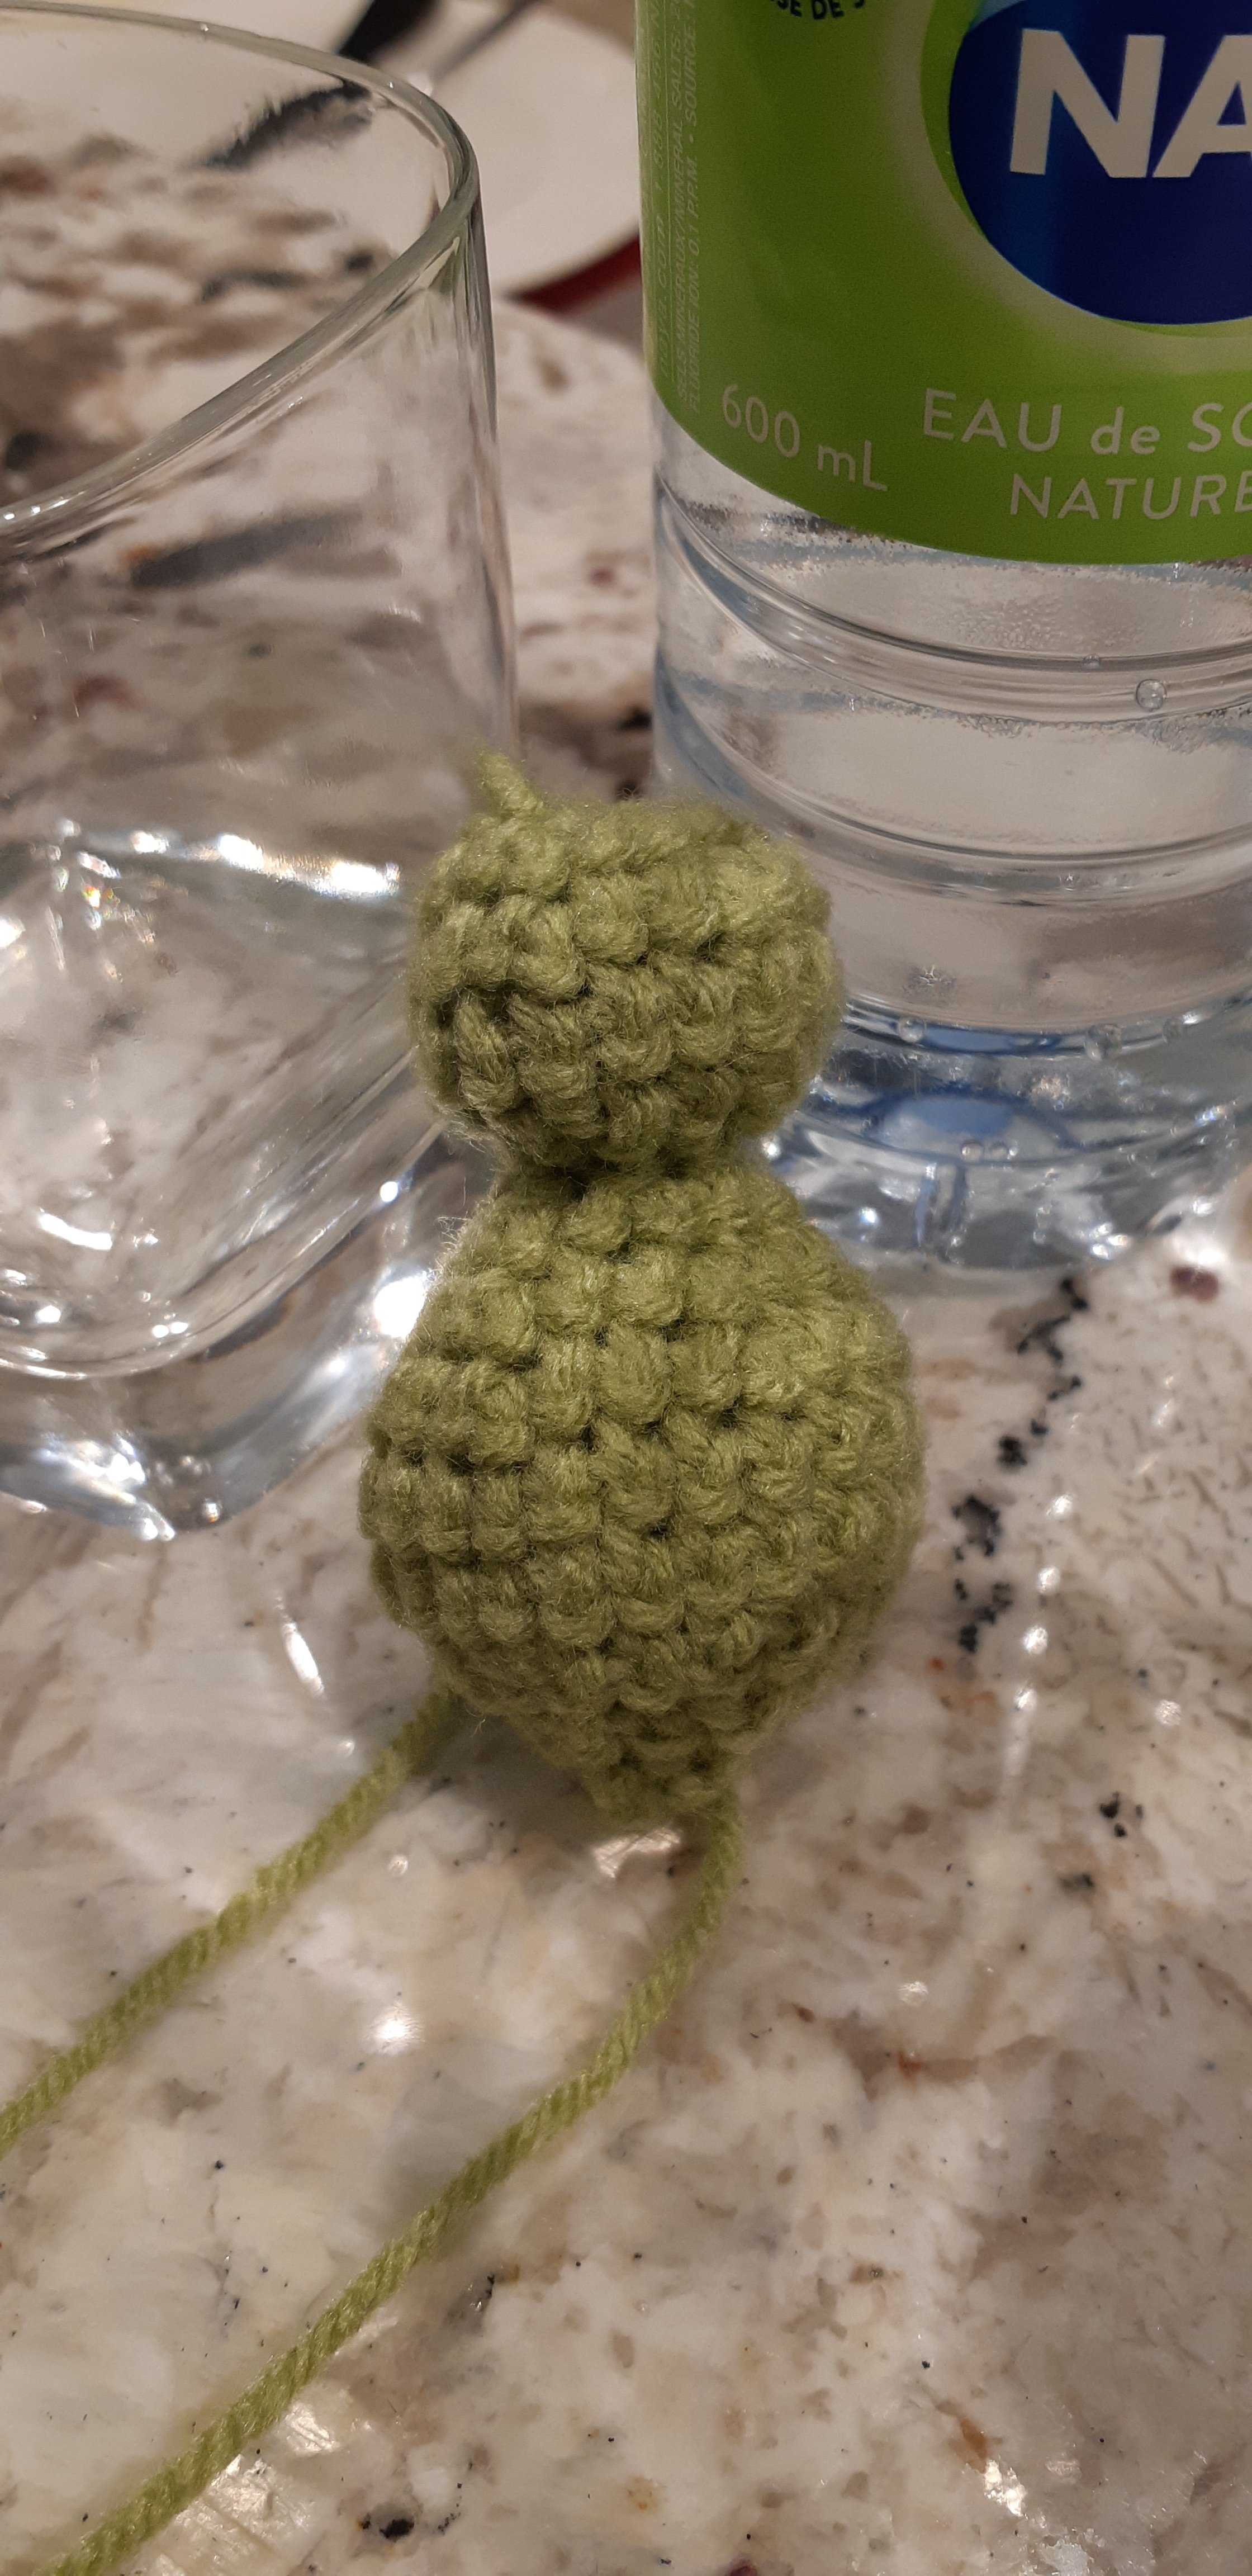
Thorax and abdomen:
Chain 6, join end to begin rnds
Rnd 1: [sc 2 in 1] rep 6
Rnd 2: [sc 2 in 1, sc 1] rep 6
Rnd 3: sc 18
Rnd 4: [sc 2 tog, sc 1] rep 6
Rnd 5: [sc 2 tog] rep 6
Rnd 6: [sc 2 in 1] rep 6
Rnd 7: [sc 2 in 1, sc 1] rep 6
Rnd 8: [sc 2 in 1, sc 2] rep 6
Rnd 9 – 10: sc 24
Rnd 11: [sc 2 tog, sc 2] rep 6
Rnd 12: [sc 2 tog, sc 1] rep 6
Rnd 13: [sc 2 tog] rep 6; break yarn and slip through last crochet
Thorax stripes (make 2):
Chain 3
Row 1: sc 2; break yarn and slip through last crochet
Stitch the two thorax stripes onto the thorax, with one closer to the top of the thorax and the other closer to the bottom of the thorax.
Part 3: Arms

Shoulders and arms (make 2):
Chain 3, join end to begin rnds
Rnd 1: [sc 2 in 1] rep 3
Rnd 2: sc 6
Rnd 3: [sc 2 tog] rep 3
Rnds 4 – 11: sc 3
Rnd 12: sc 3; break yarn and slip through last crochet
Scythes (make 2):
Chain 10
Row 1: sc 4, sc 2 tog, dc 2, sc 1; break yarn and slip through last crochet
Stitch one scythe onto each of the shoulder and arm segments, forming the arms.
Part 4: Legs
Leg Base (make 2):
Chain 3, join end to begin rnds
Rnd 1: [sc 2 in 1] rep 3
Rnd 2: [sc 2 in 1] rep 6
Rnd 3: sc 12
Rnd 4: [sc 2 tog] rep 6
Rnd 5: [sc 2 tog] rep 3
Rnd 6: sc 6; break yarn and slip through last crochet
Foot base (make 2):
Chain 6, join end to begin rnds
Rnd 1: [sc 2 in 1] rep 6
Rnd 2: [sc 2 in 1, sc 1] rep 6
Rnd 3: [sc 2 tog] rep 9
Rnd 4: sc 9; break yarn and slip through last crochet
Stitch the foot base onto the leg base, with the sphere positioned at the top.
Toes (make 6):
Chain 2
Row 1: sc 1; break yarn and slip through last crochet
Stitch three toes onto each foot base.
Hind Spikes (make 2):
Chain 3
Row 1: sc 2, ch 1, turn
Row 2: sc 2 tog, sc 1, ch 5, turn
Row 3: sc 2 tog, sc 5, ch 1, turn
Row 4: sc 2 tog, sc 3, ch 3, turn
Row 5: sc 2 tog, sc 5, ch 1, turn
Row 6: sc 2 tog, sc 2, ch 3, turn
Row 7: sc 2 tog, sc 4, ch 1, turn
Row 8: sc 2 tog, sc 1, ch 1, turn
Row 9: sc 2 tog, sc 1; break yarn and slip through last crochet
Stitch leg spikes onto the sphere section of the leg base by wrapping it around.
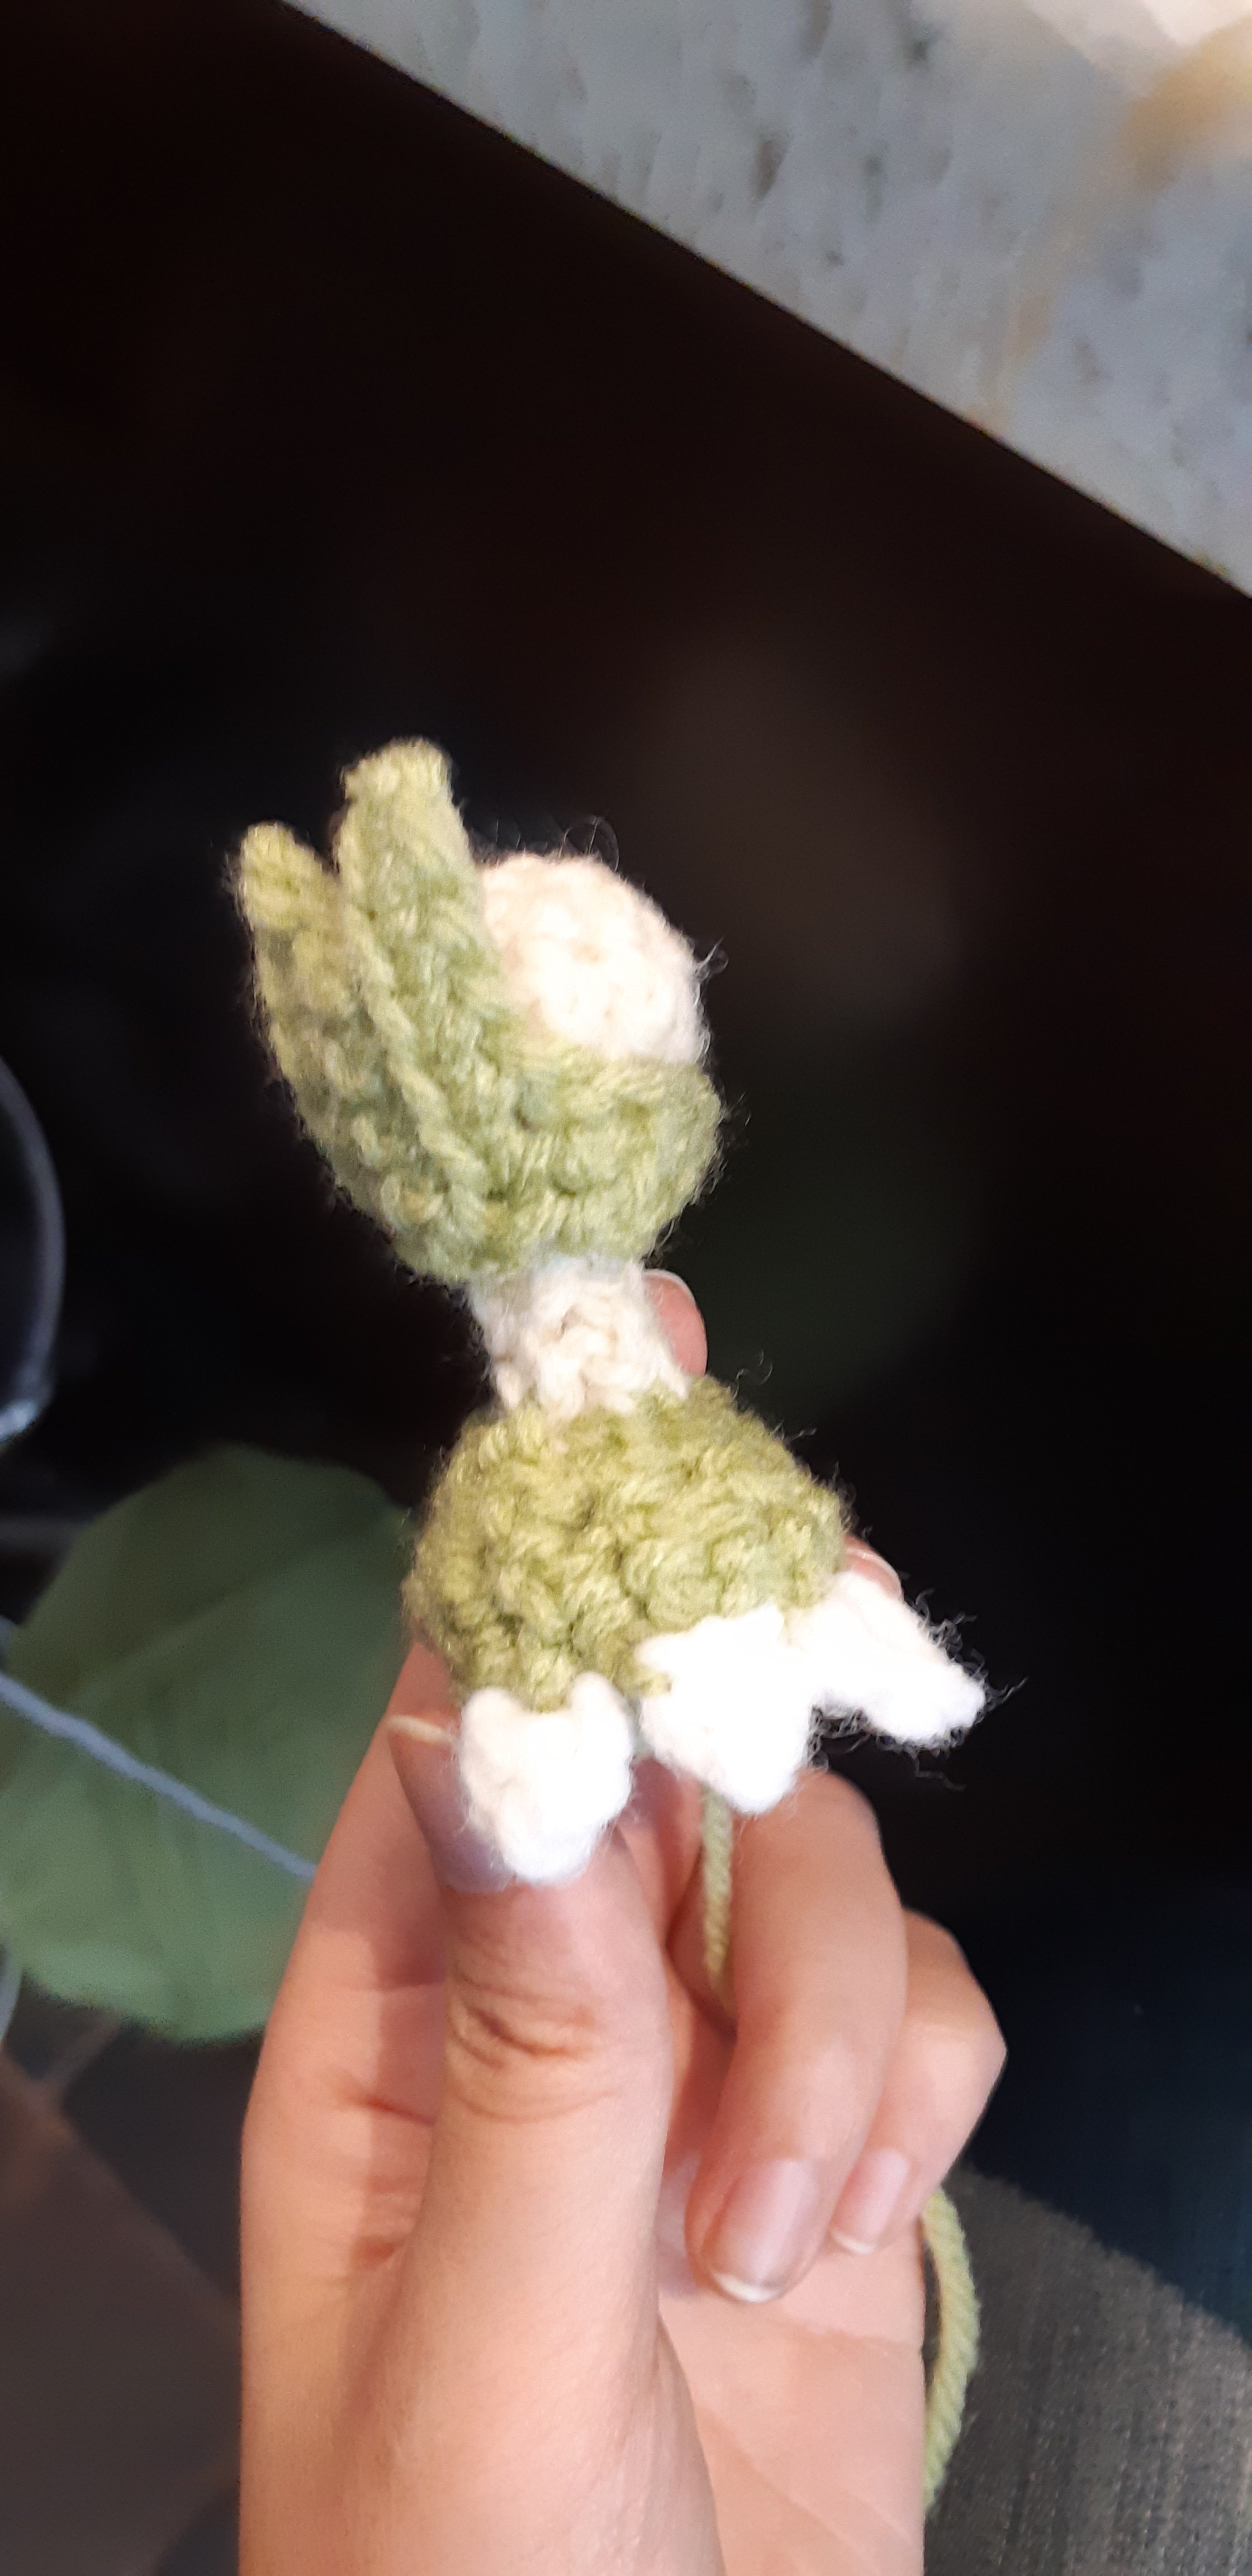
Part 5: Wings
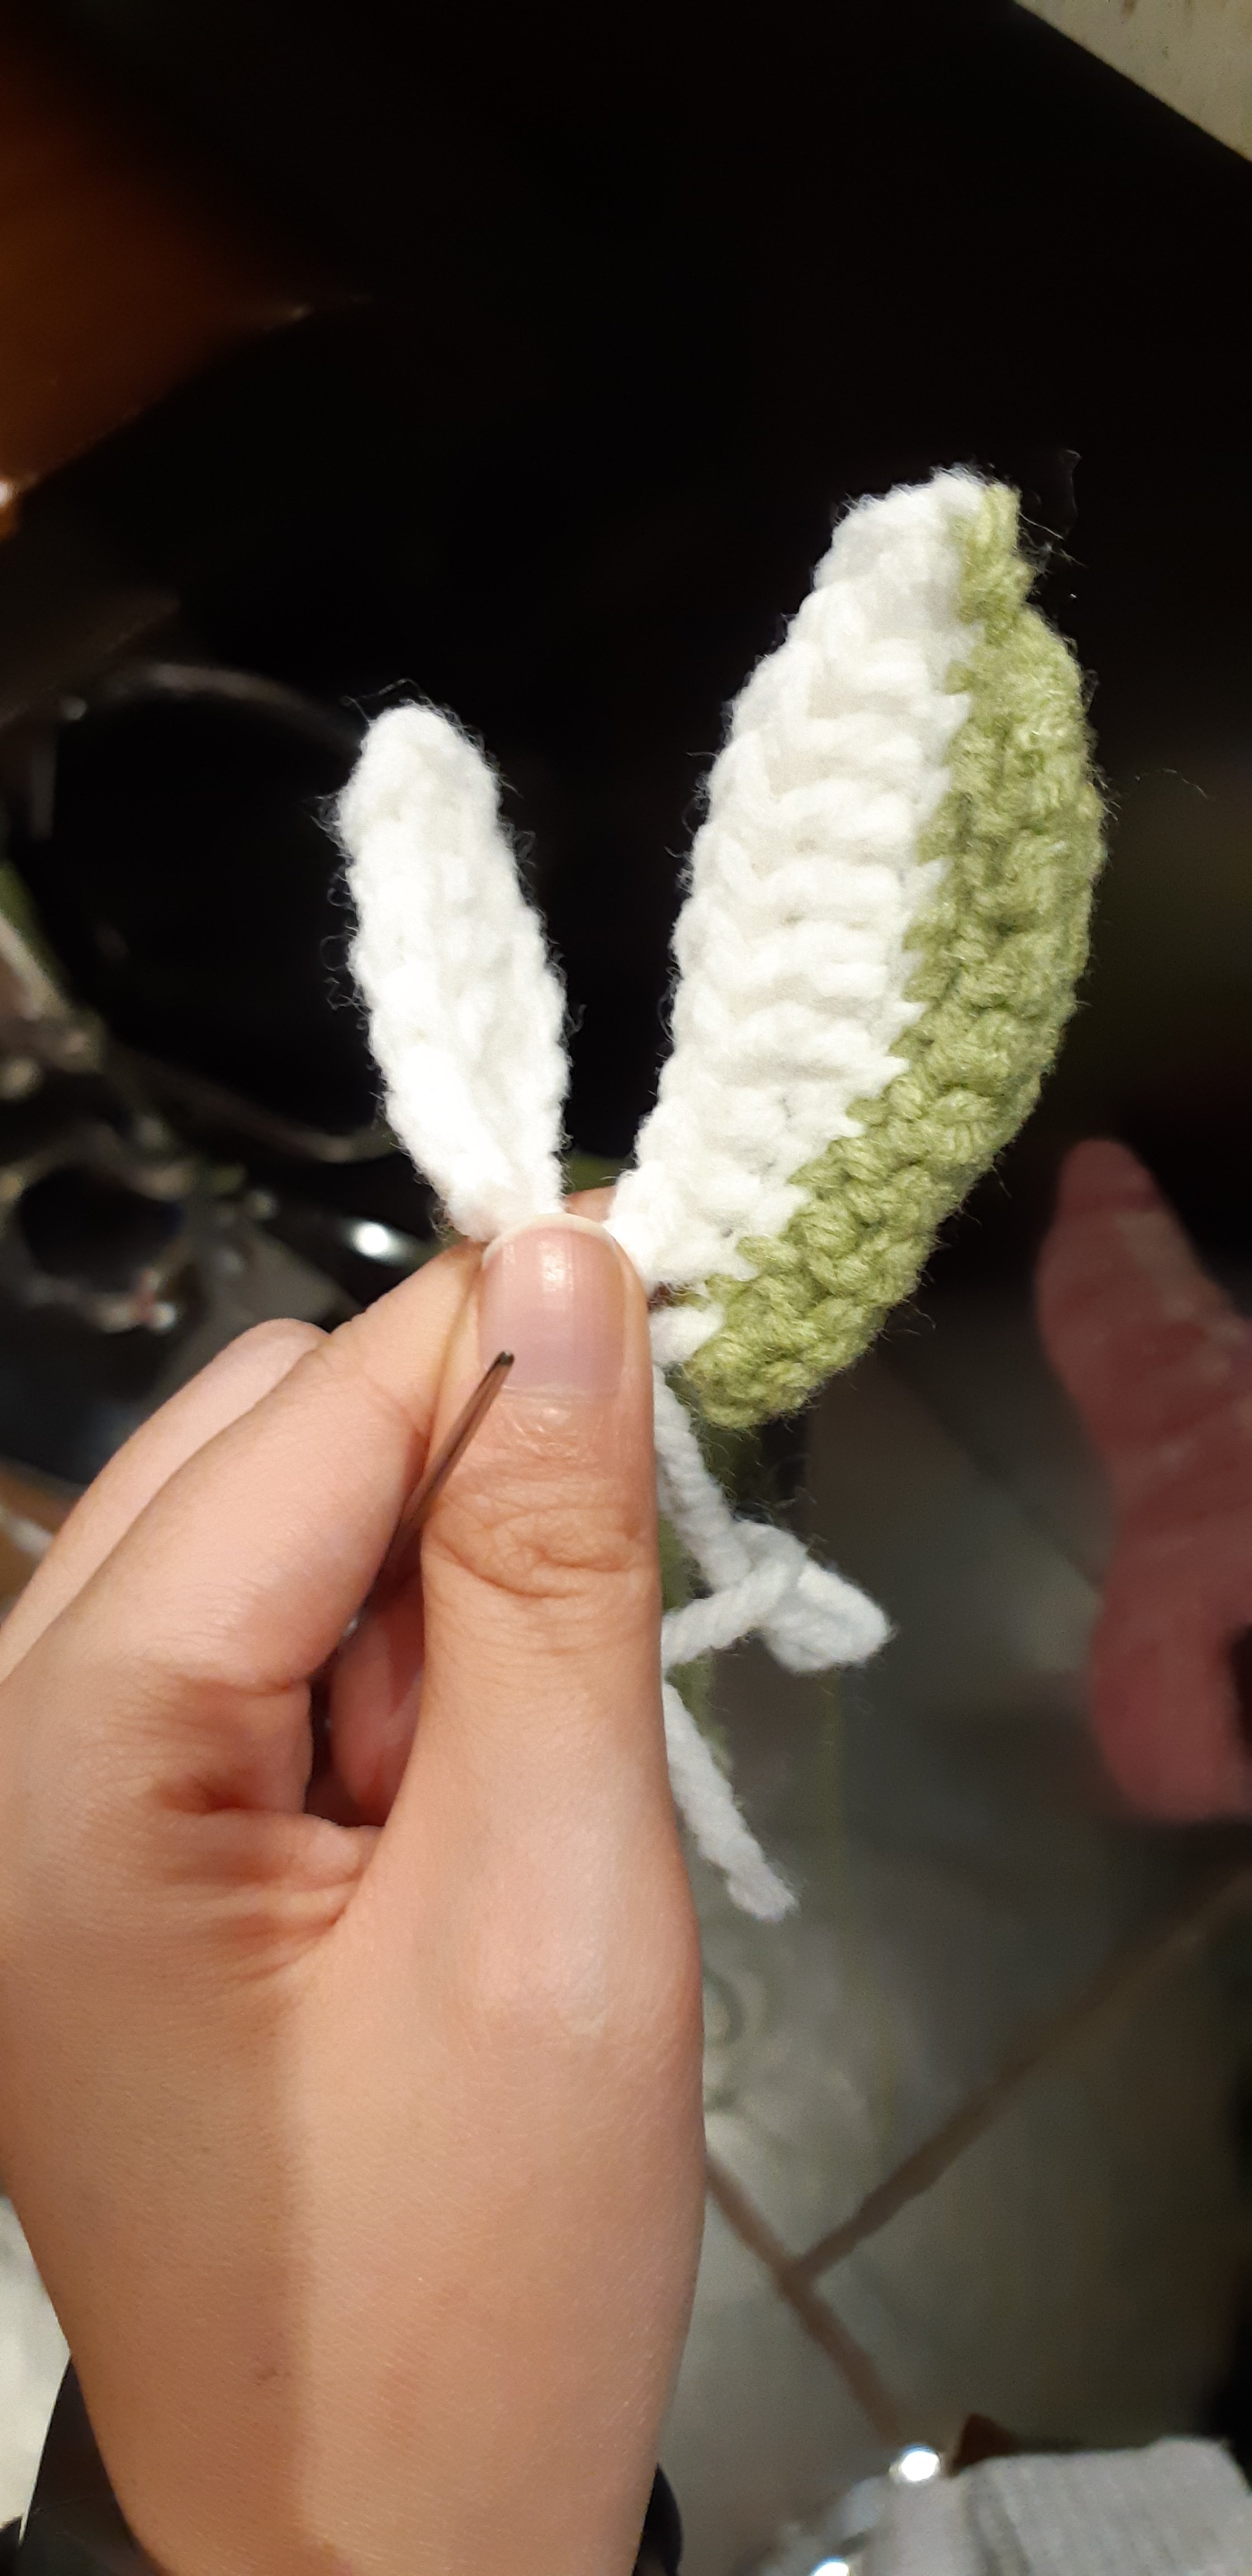
Wing edge (make 2):
Chain 3, join end to begin rnds
Rnds 1 – 8: sc 3
Rnd 9: sc 3; break yarn and slip through last crochet
Upper wing (make 2):
Chain 12
Row 1: sc 2, dc 5, sc 2 tog, sc 2; break yarn and slip through last crochet
Stitch one upper with with one wing edge to form upper wings.
Lower wing (make 2):
Chain 8
Row 1: sc 2, dc 2, sc 2 tog, sc 1; break yarn and slip through last crochet
Stitch a lower wing together with one upper wing to form a set of wings.
Part 6: Assembly

Spikes + head + body + thorax stripes
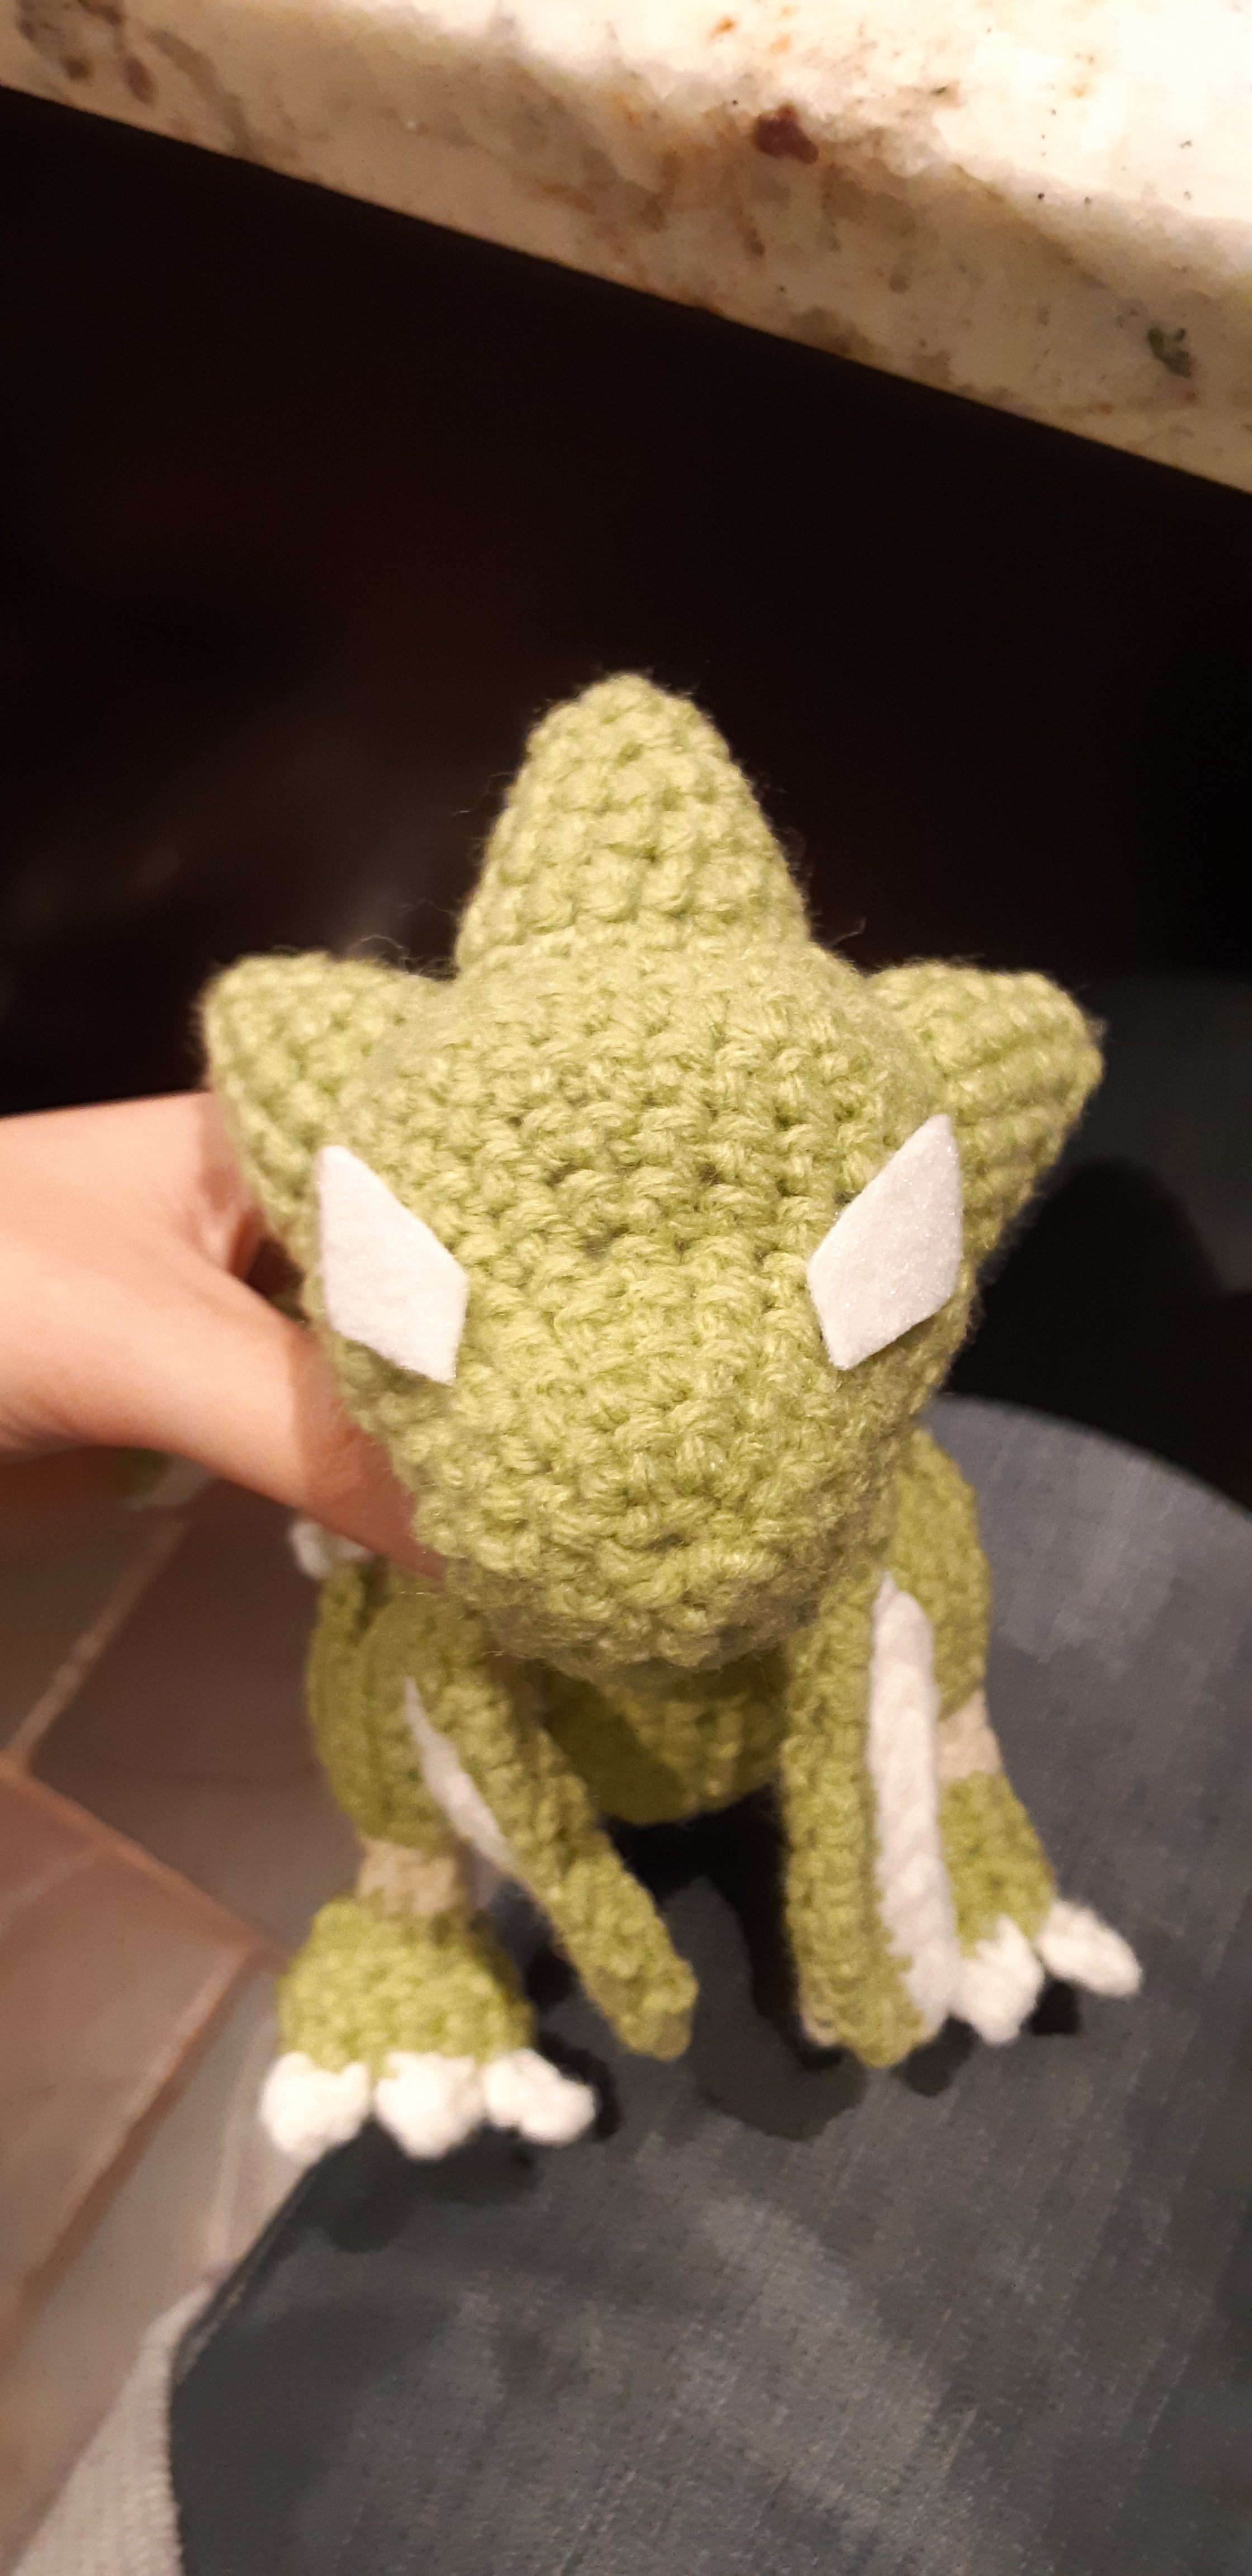
Arms + legs + wings + felt eyes
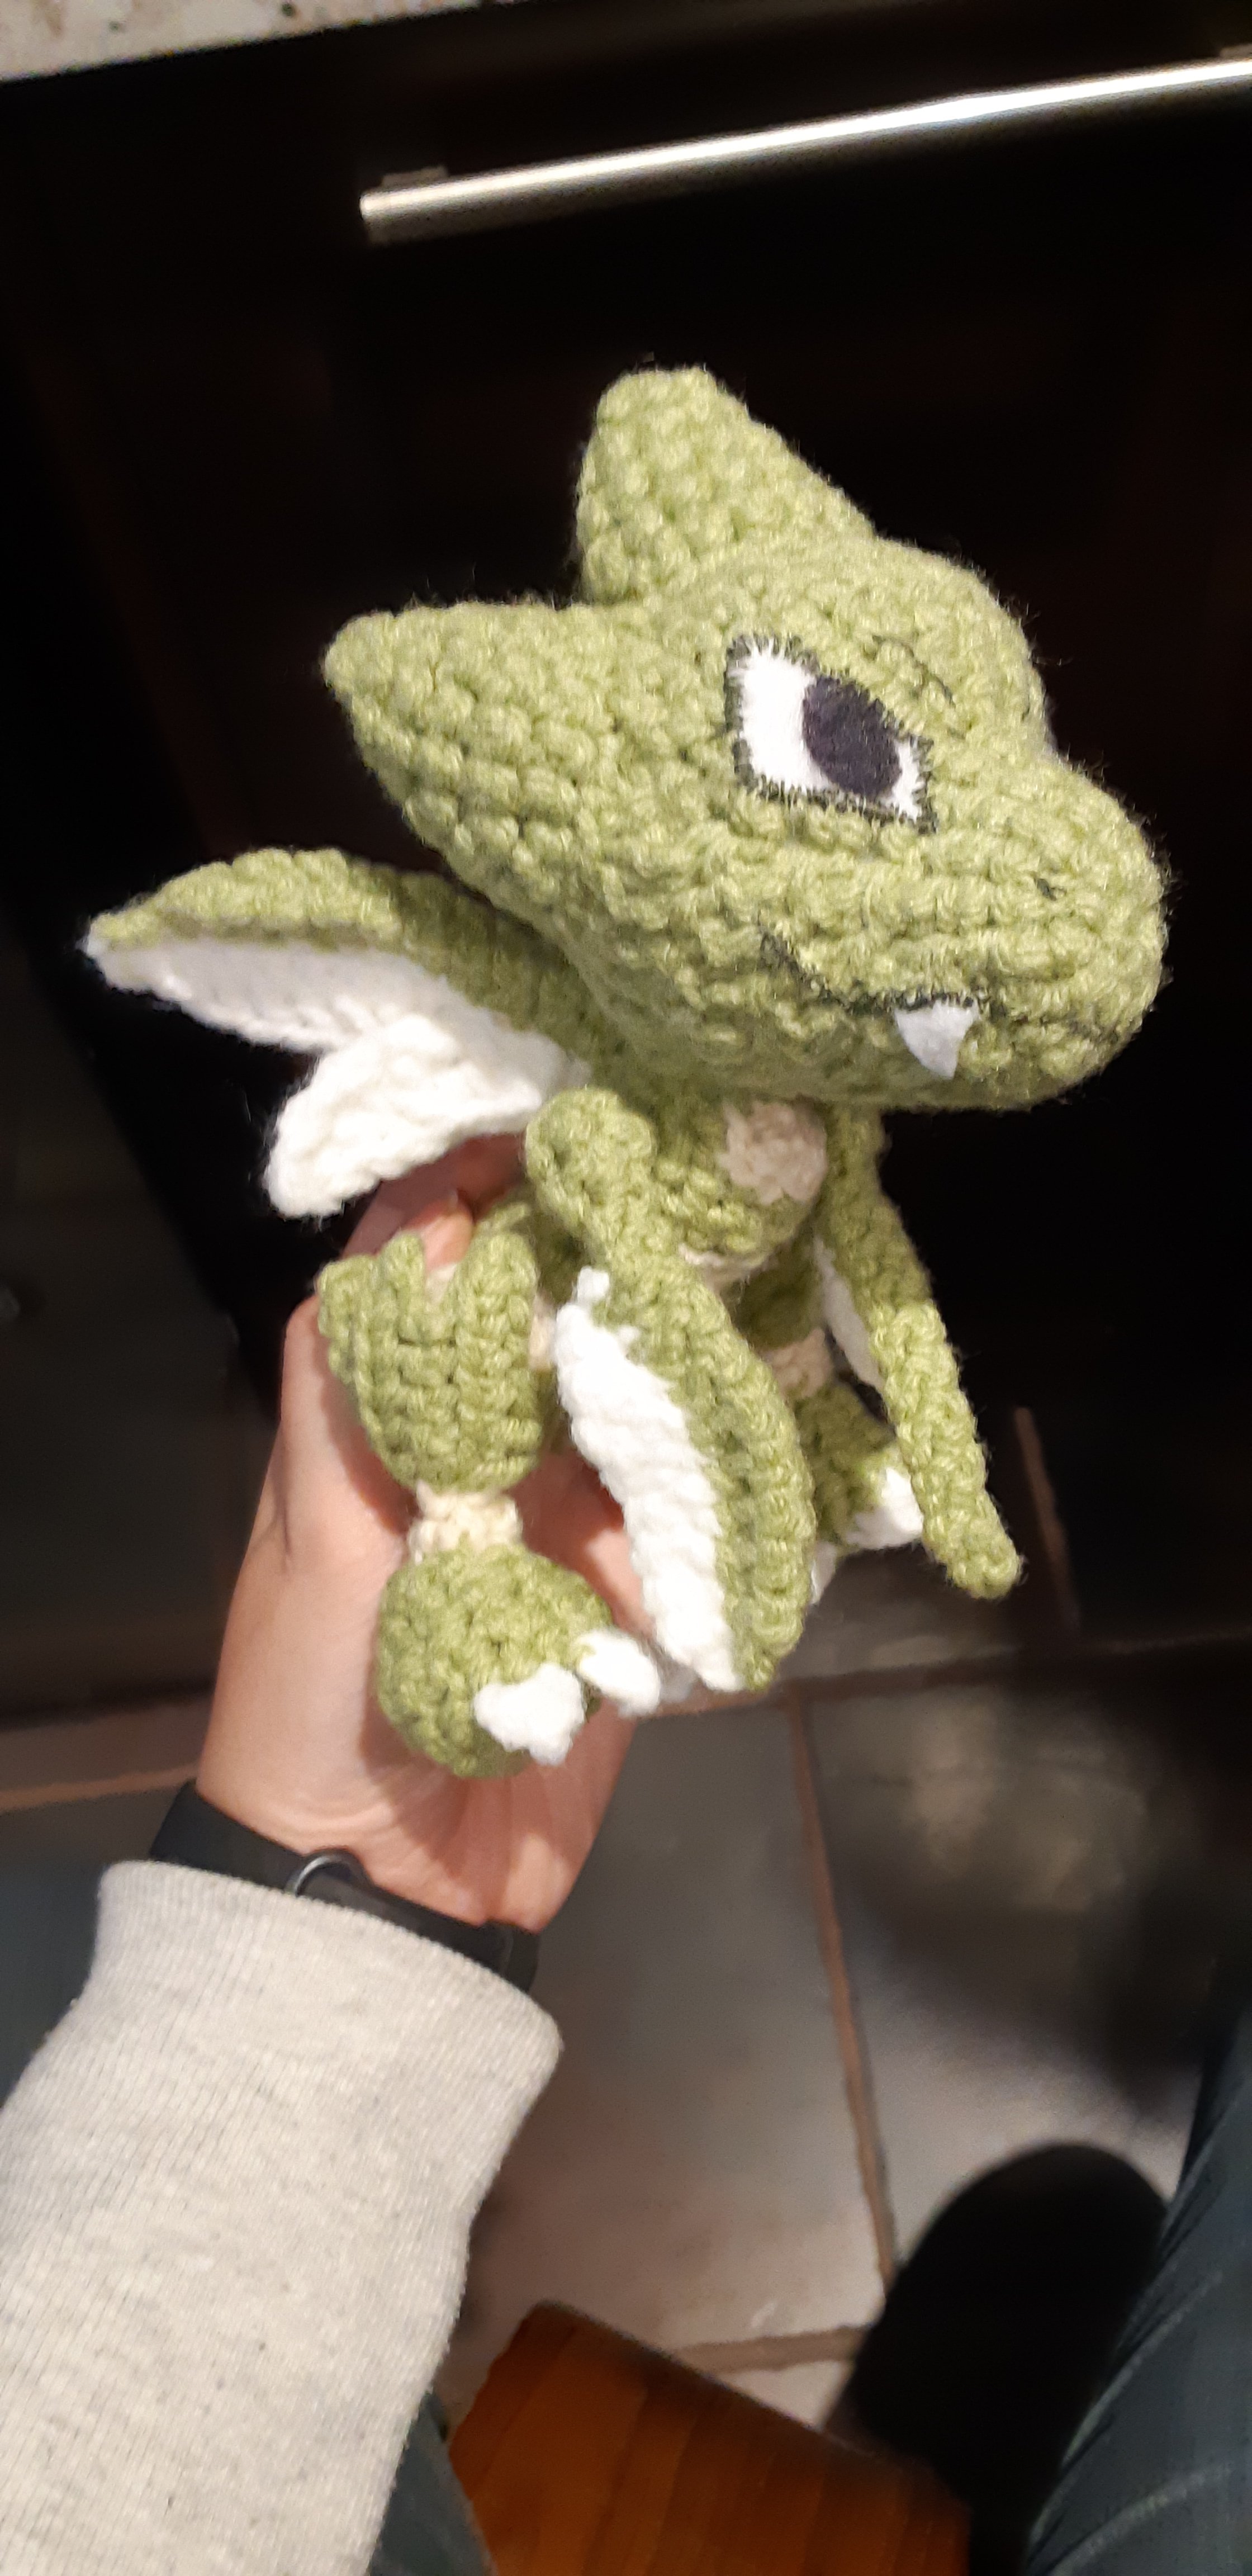
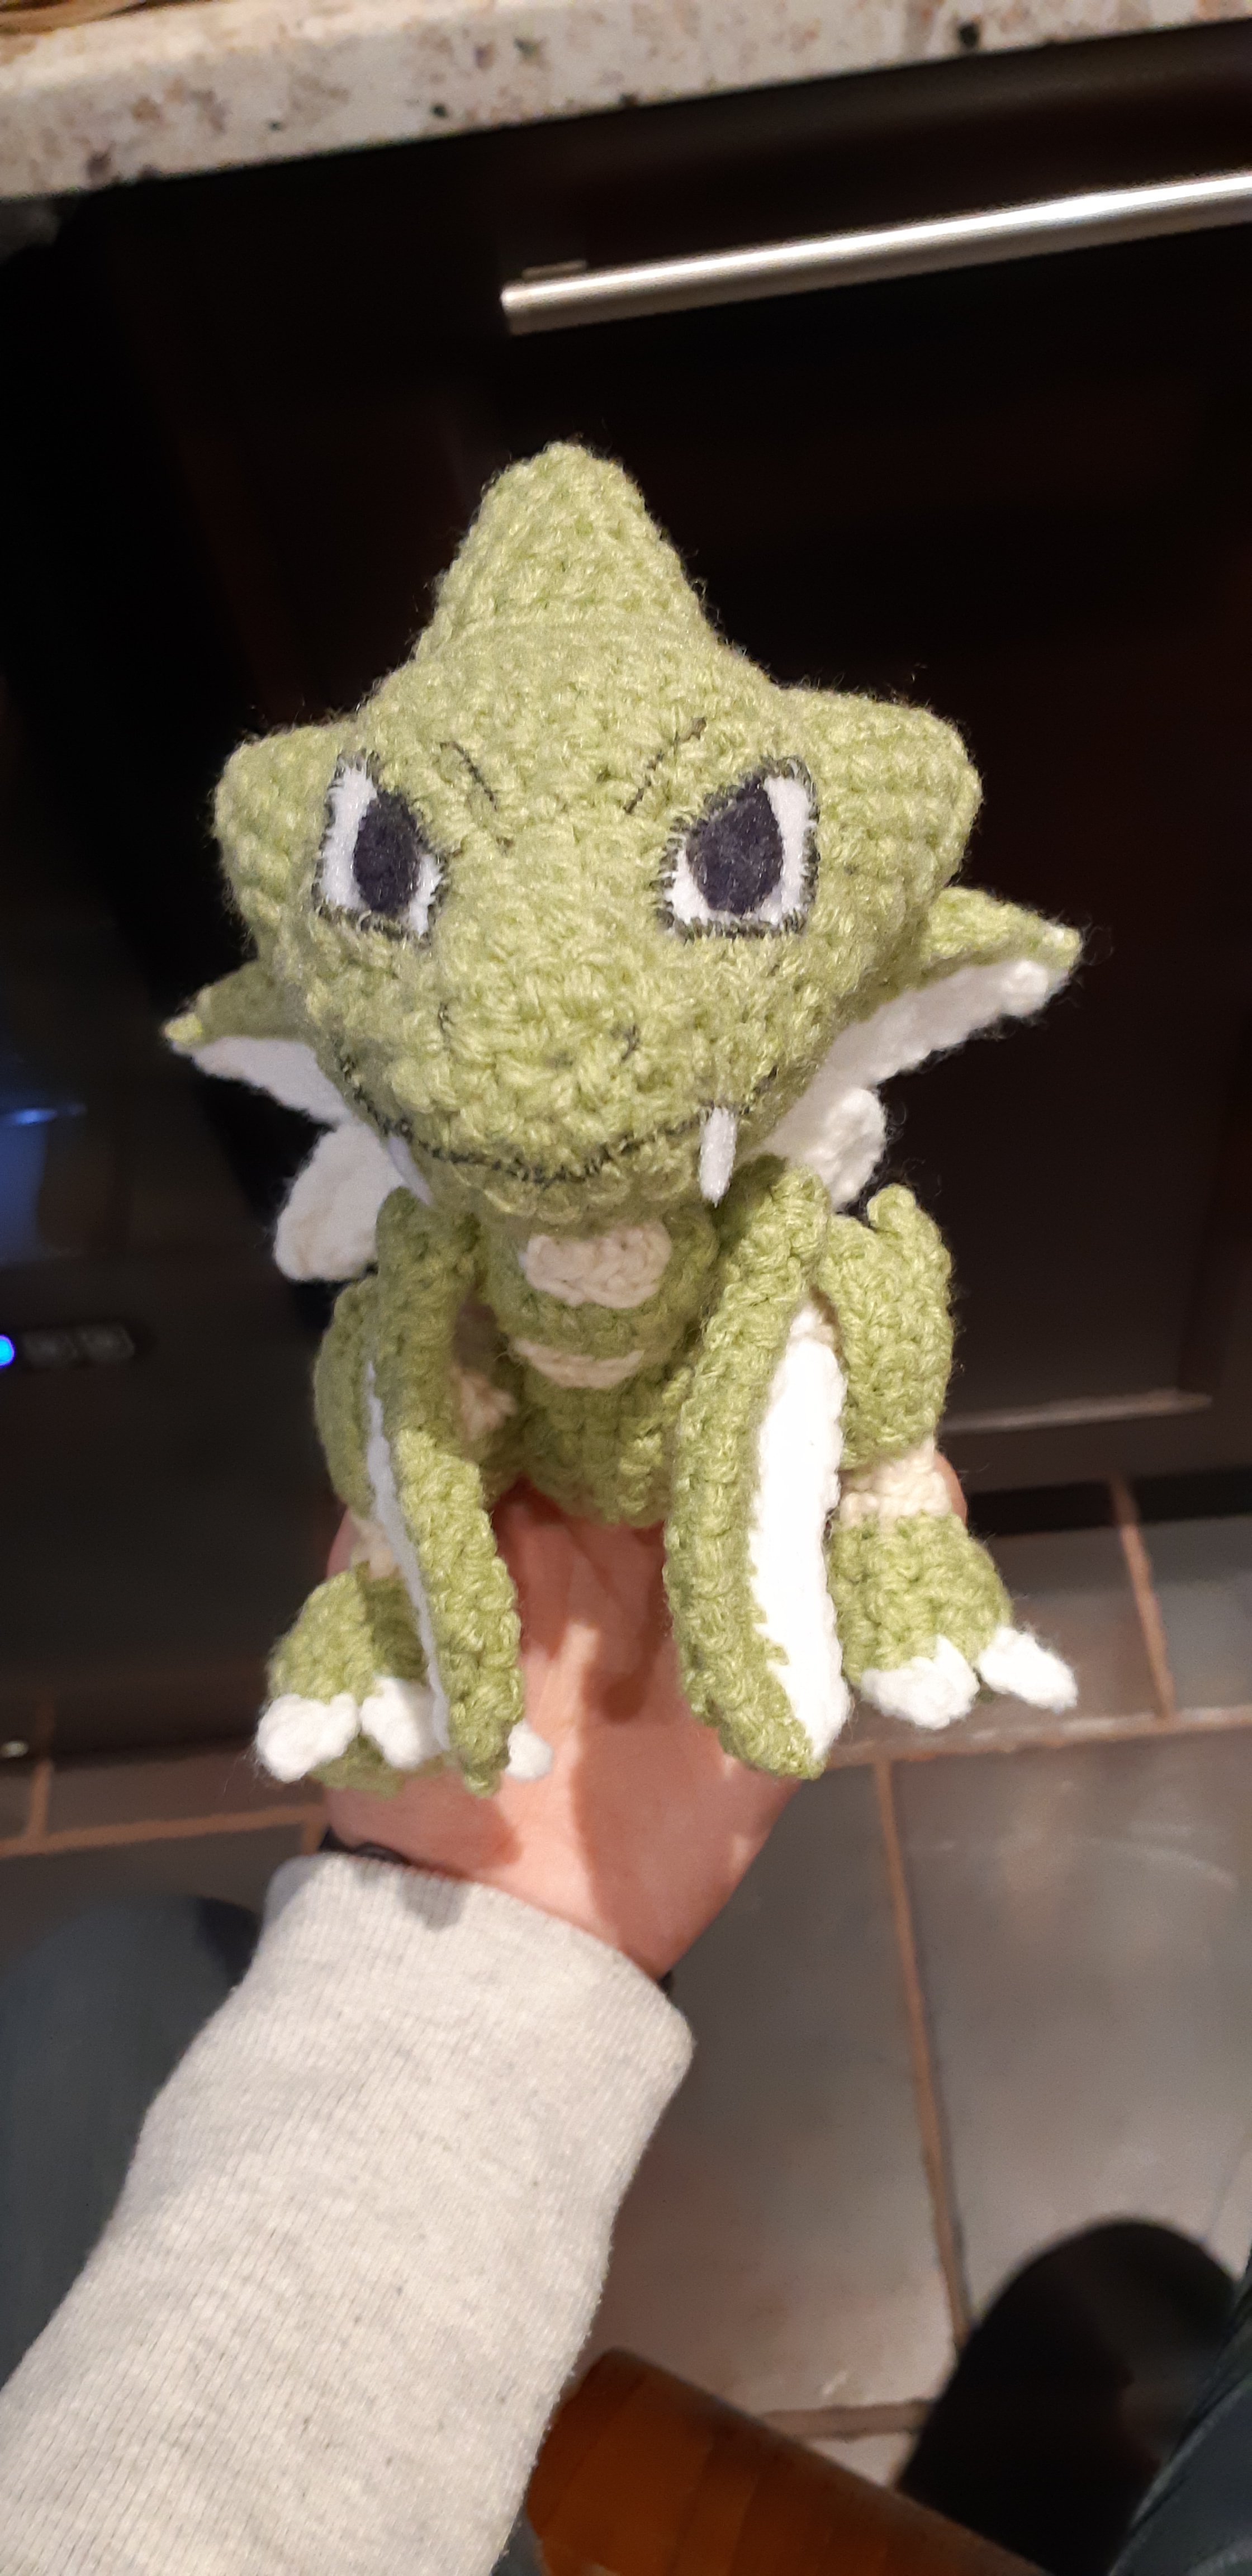
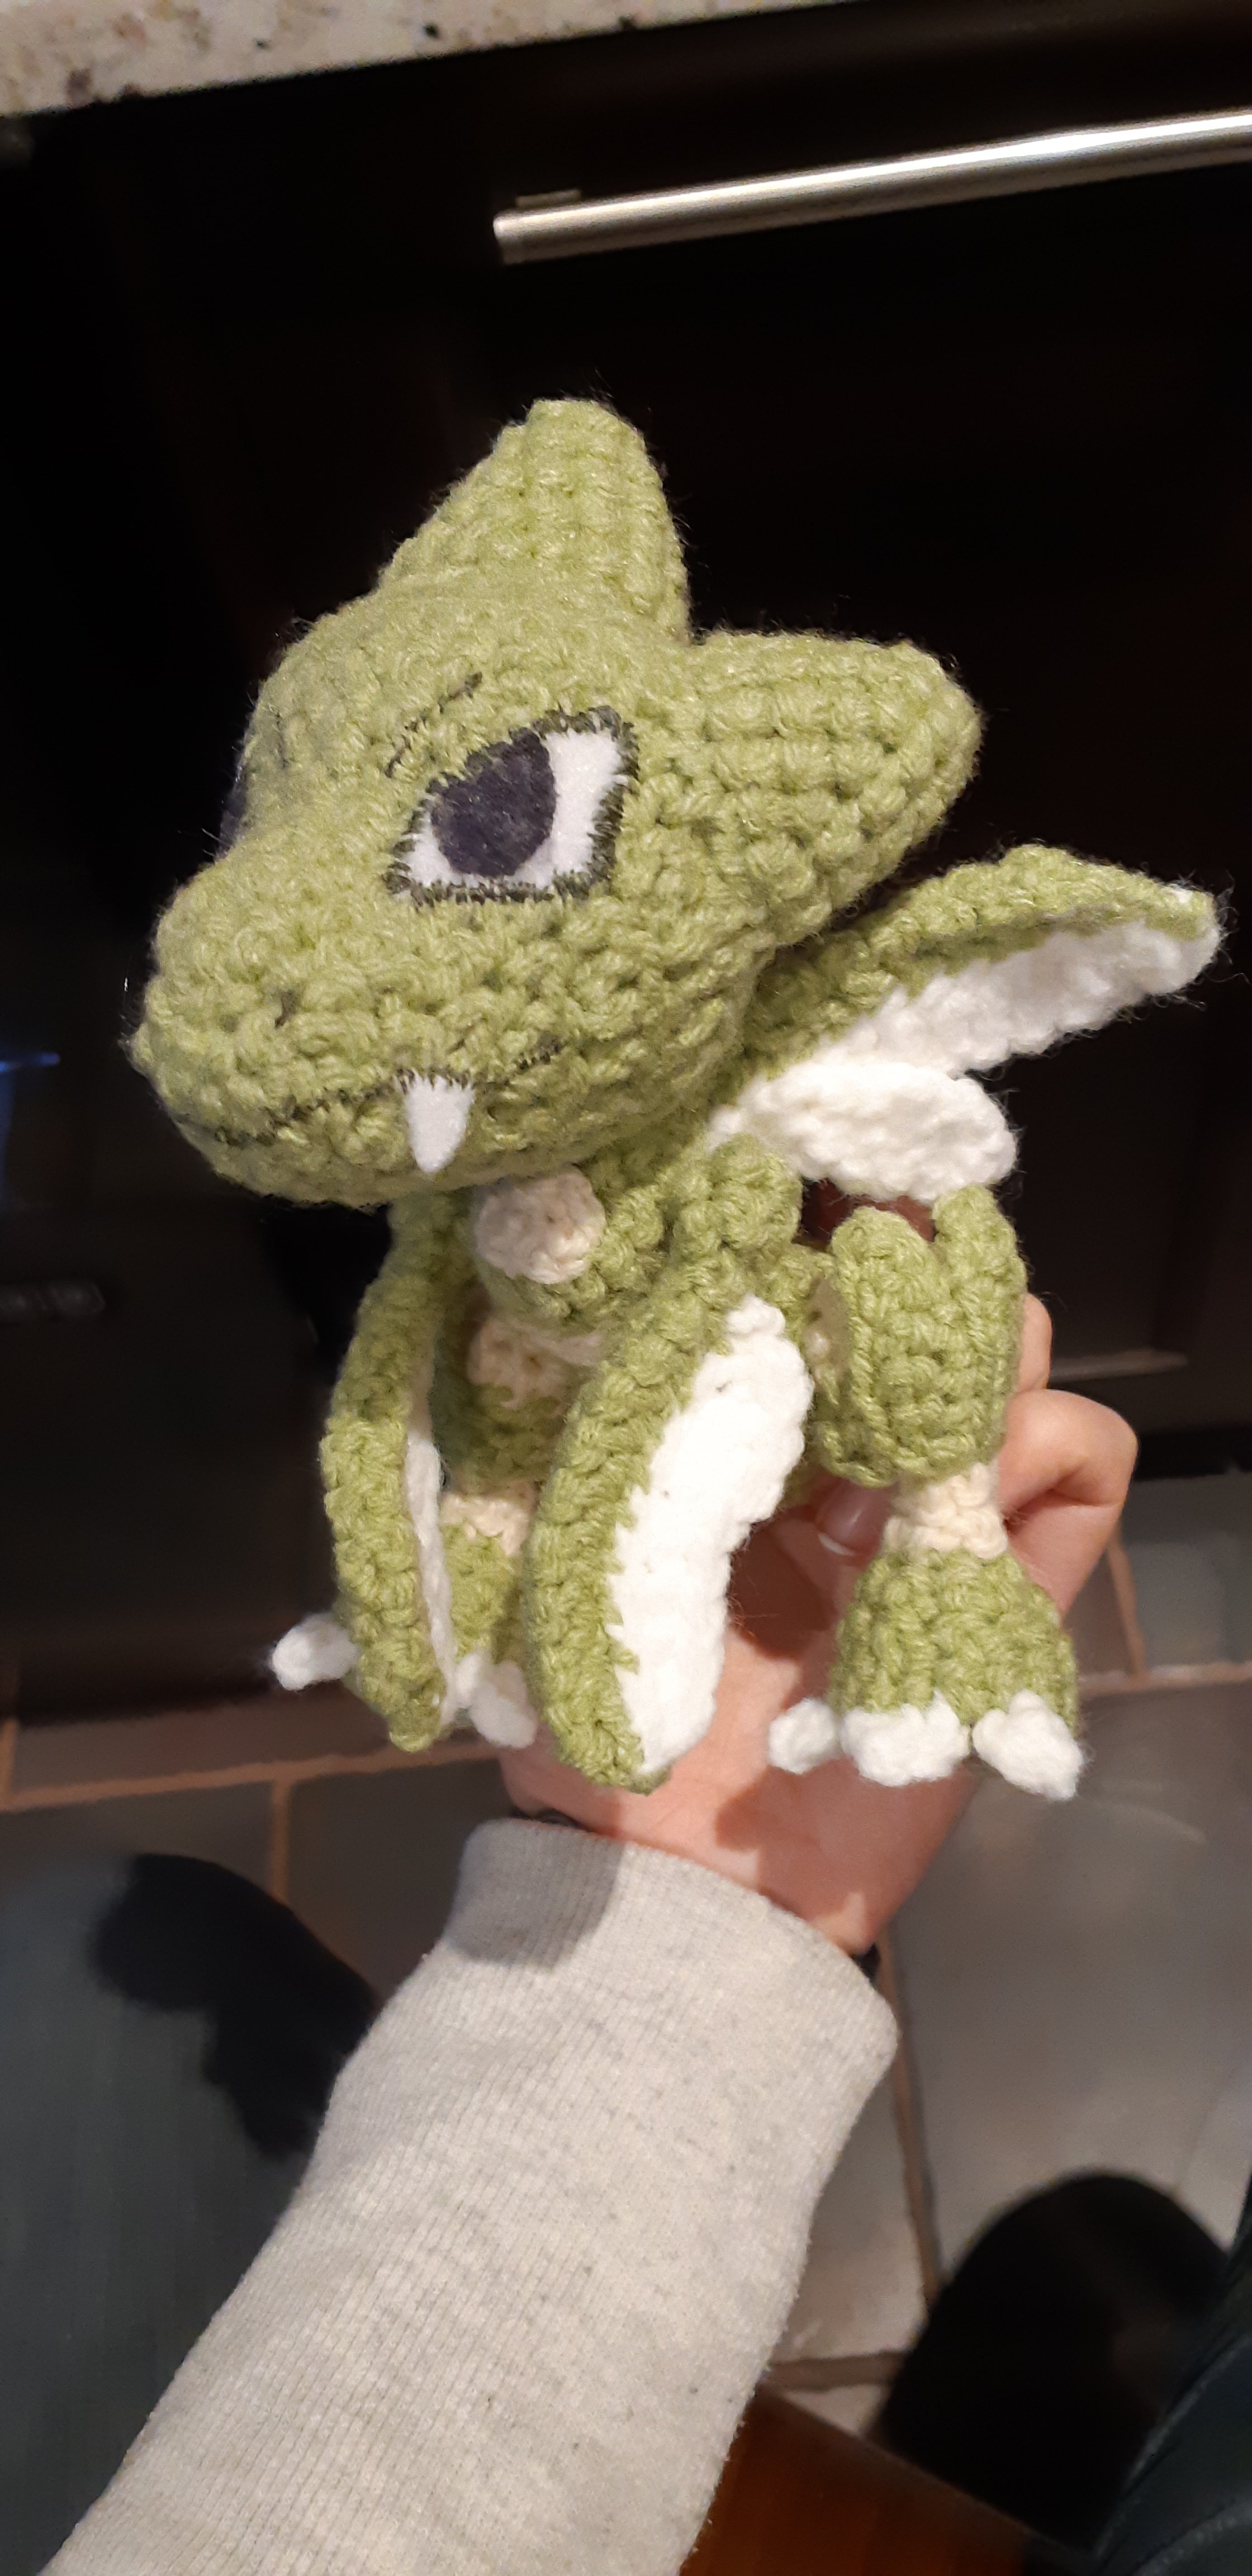
I attached the eyes by stitching along the edge and then used fabric paint for the irises. The mouth was also stitched, along with the 2 fangs and nostrils.
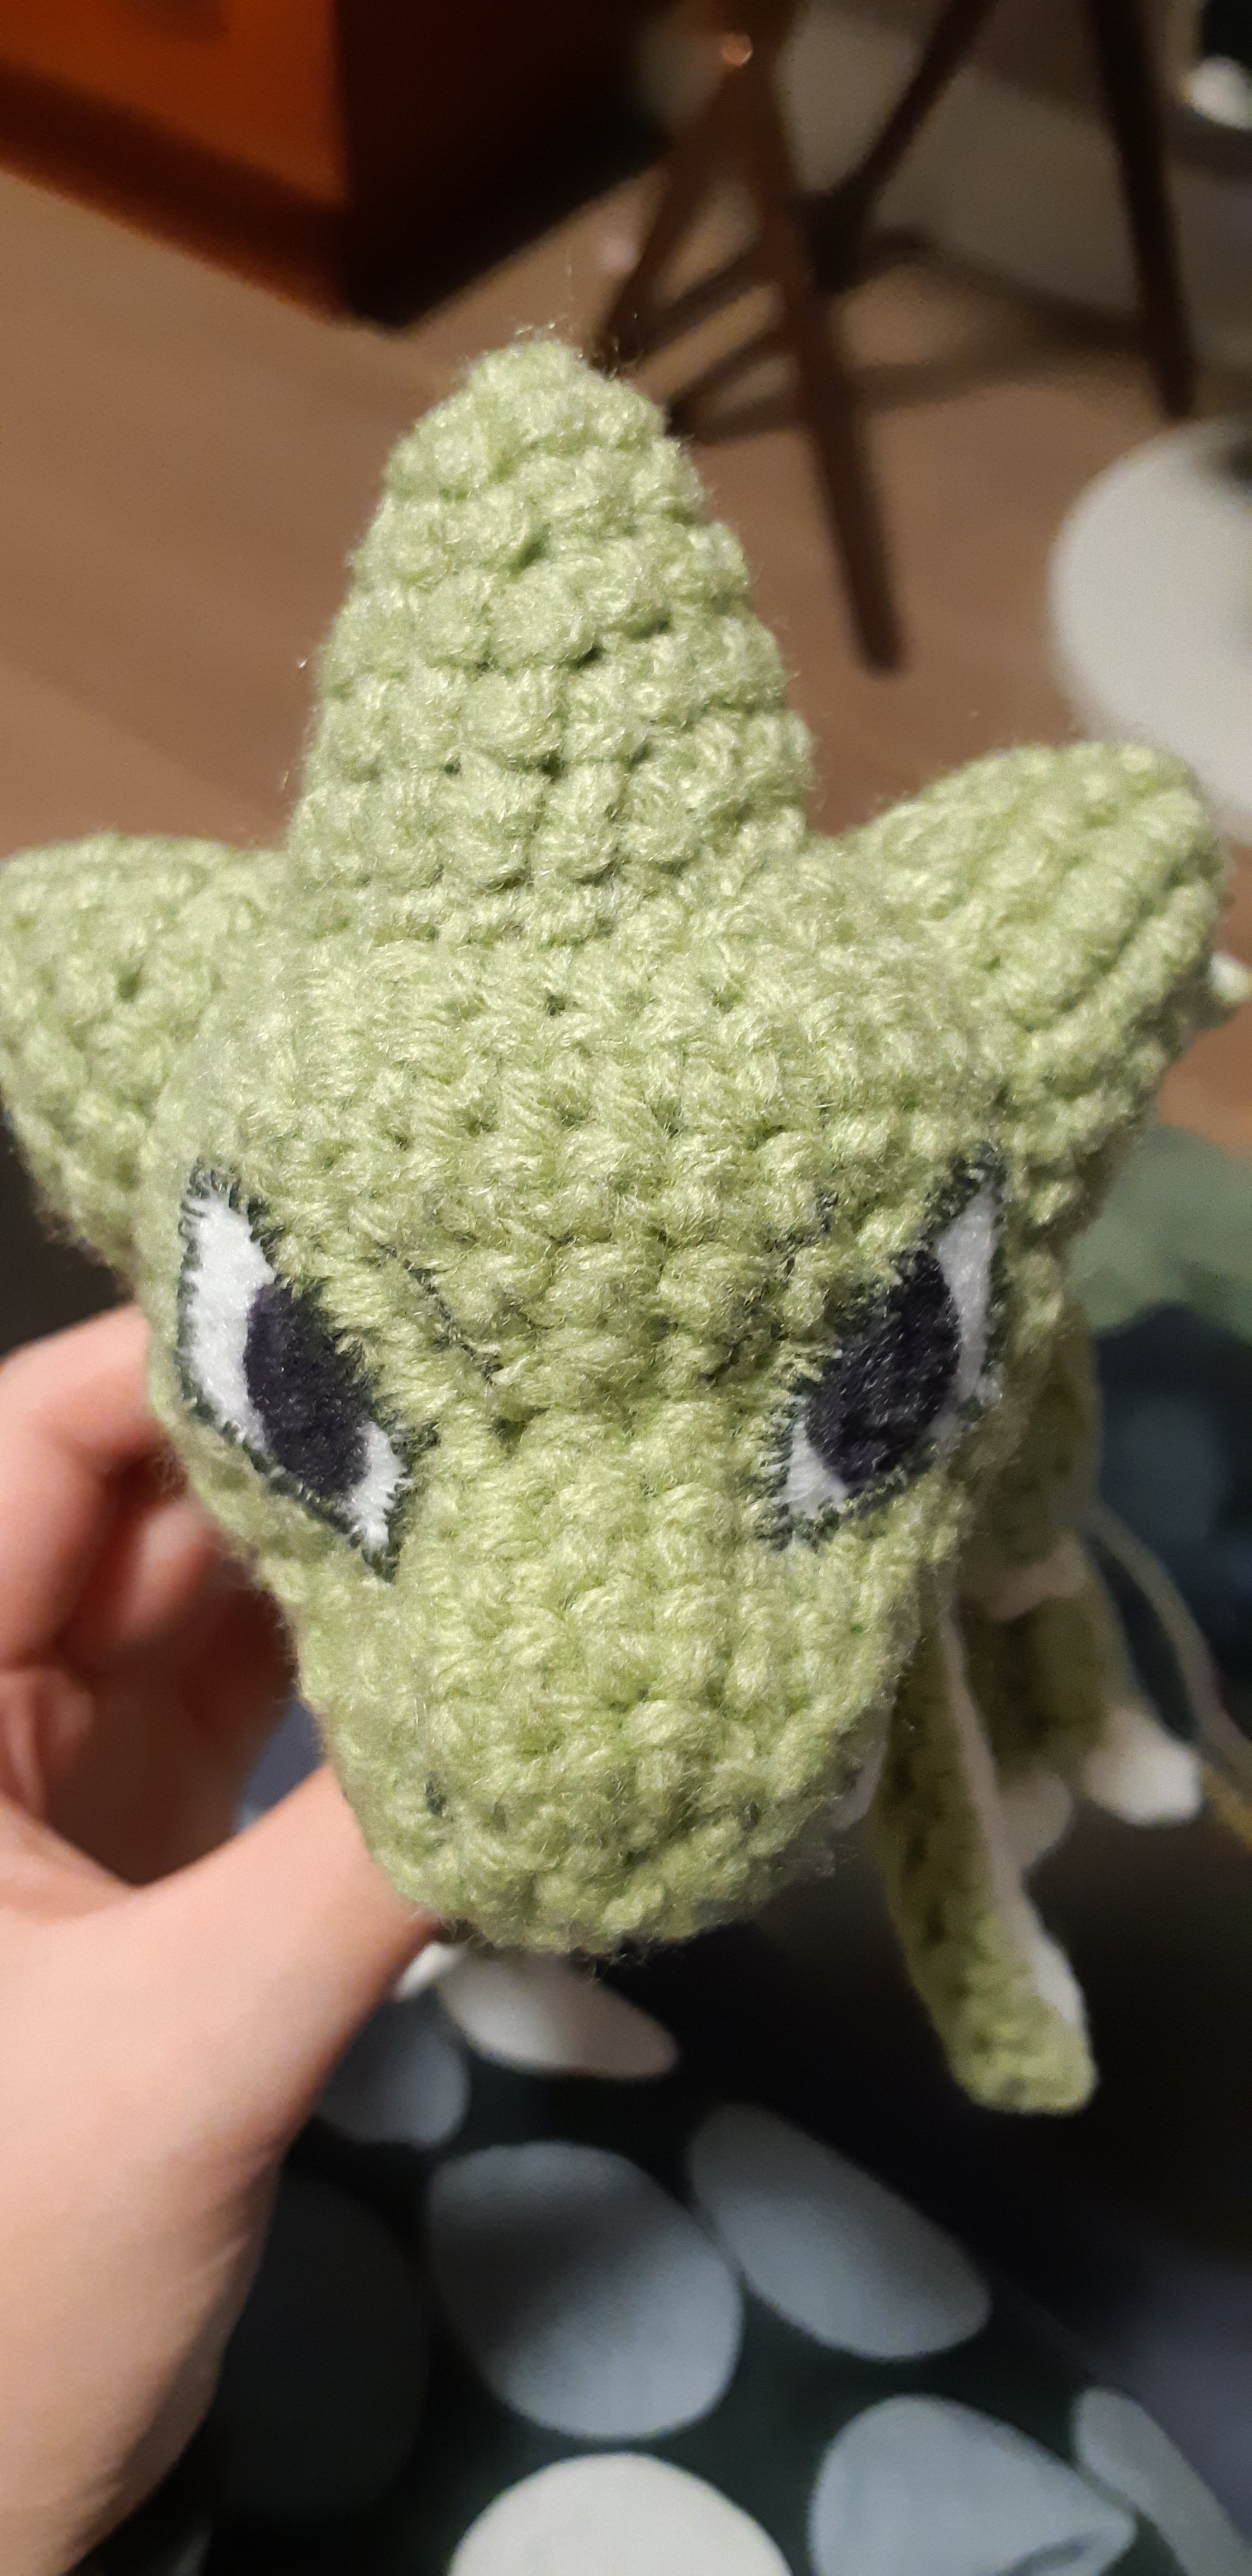

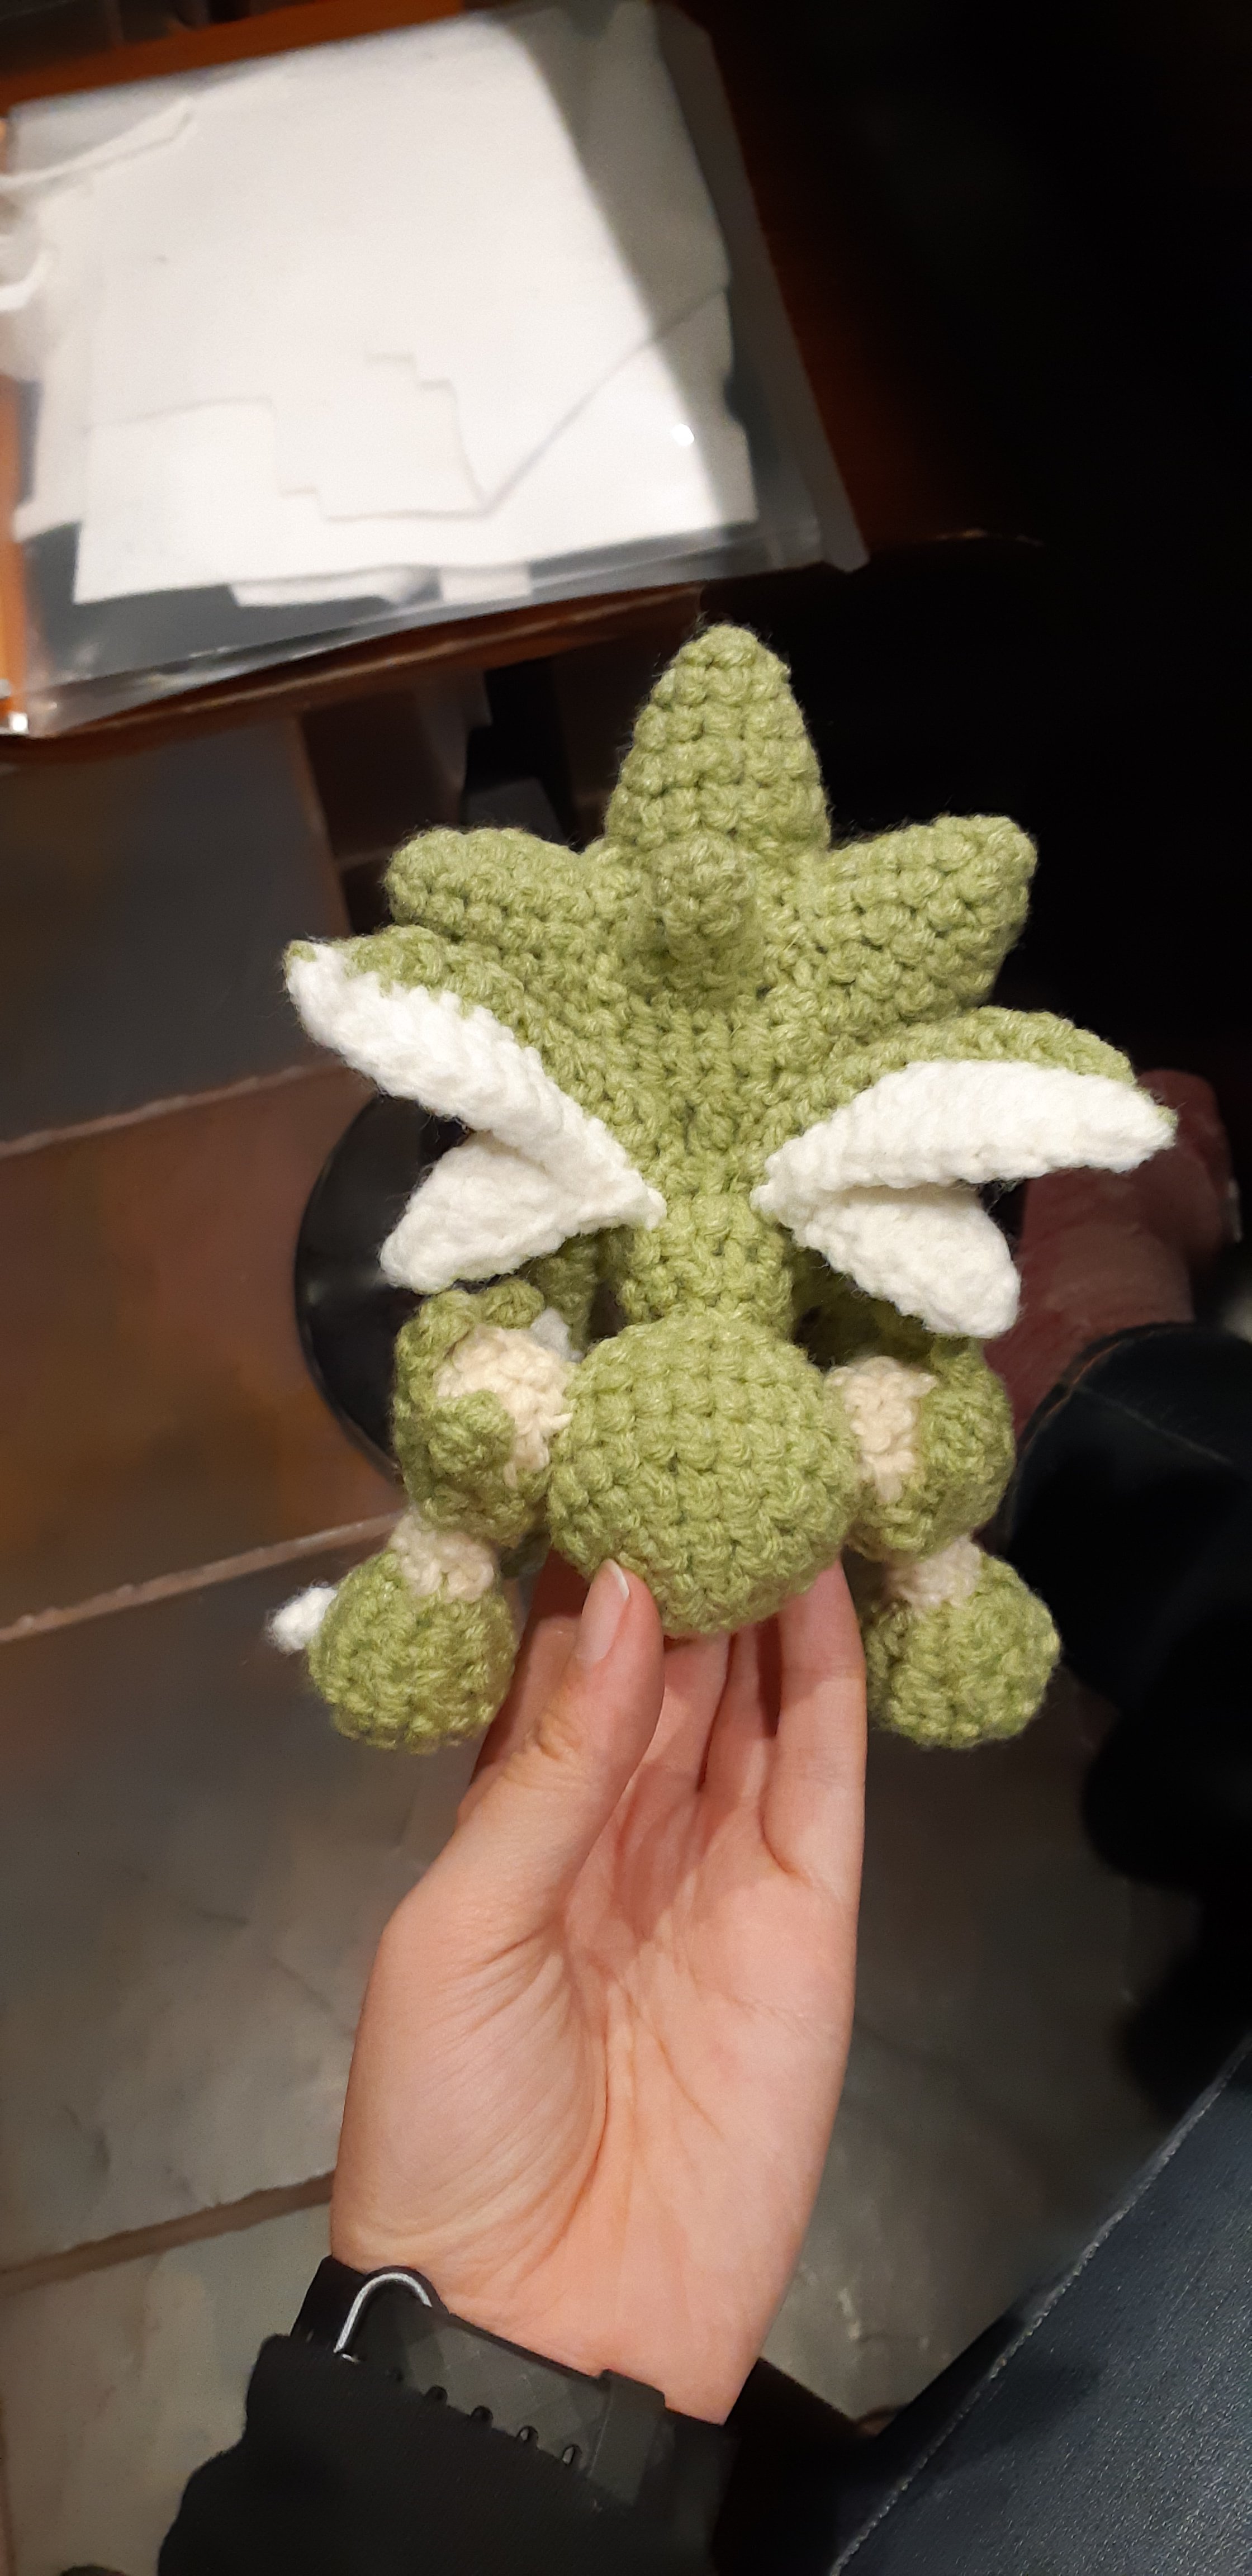
Here’s the final result:

this looks so cool! I wish I could work these patterns!
LikeLike
Thanks for the comment, I’m glad you like my scyther amigurumi!
I’m thinking of posting some techniques in the future.
LikeLike
that would be great!
LikeLike
I absolutely want to try this. I hope I have enough time before my boyfriend’s birthday in December. (I have two huge afghan projects also in the works, LOL.)
LikeLike
I have confidence that you’d have enough time to make this guy, it’s about 11cm in height. I think putting the pieces together took the longest time.
LikeLike
I have been searching for a pattern to make a wailmer pokemon but can’t find one can you help please
LikeLike
Hi Shannon, I haven’t come across any Wailmer patterns, sorry!
LikeLike
No worries thank you very much
LikeLike
Is there any way to size this up to make him larger? He’s so cute
LikeLike