
Wow, long time no post! Once again, I could not predict how long this project would take me, but now I finally have it completed: here is the amigurumi Zamazenta! It was a long journey with many distractions on the side.
If you recall from my last couple of updates, I had intended to keep a slower pace of 2 new projects per month. At the time, I did not think I was going to be so distracted or overwhelmed with all the details this shield-faced bork has. I’m still plugging away on several other ideas, so I’m not planning to stop anytime soon.
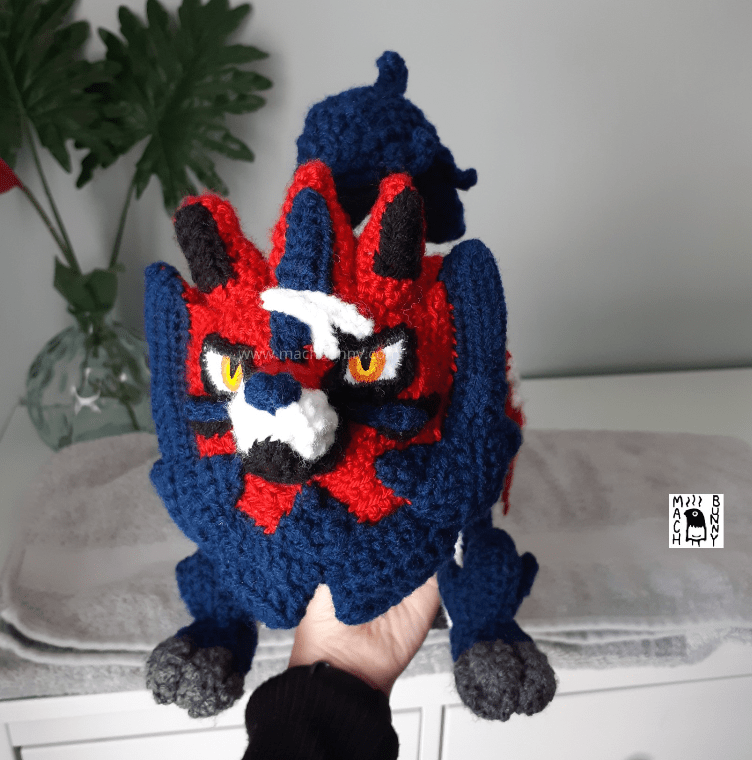
Starting with the design – I prefer zamazenta without its giant shield extensions, even though the reason I got the shield version was from seeing the armoured design. Without the extensions, it reminds me of a lobster with many scars and spikes.


A lot of work came from breaking down the design of the pokemon, because there were so many details that sit on one comprehensive shape. It took a few tries drawing it out; eventually, I got the project starting with the base piece as a strange 2-part lumpy cylinder.

I had an idea about using the piece as the base, while adding the neck ridges on top and smaller details over the body. I got around to doing the ridges, but not until after forming all the details for every other limb. Something about the neck ridges made me delay making these parts for as long as possible.


The face was made from attaching a lot of details directly onto the strange lump piece. The blue ridge piece came out a bit too large at the bottom, but it had just enough room to make all the details fit for the face; while the small pieces themselves are made up of chaining and crocheting a couple rows or so, it was the stitching that really bogged the process down.

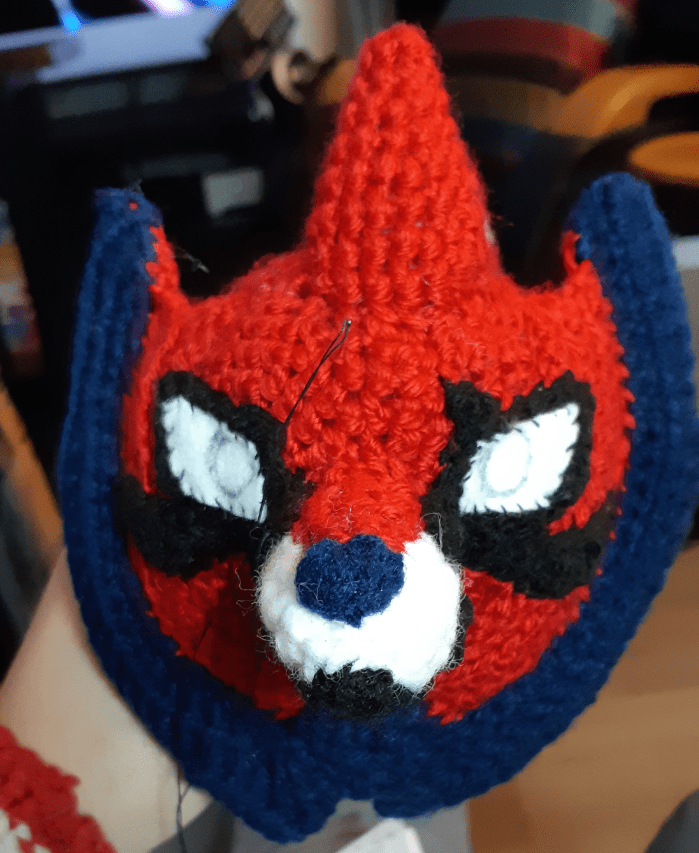

The eye rims used a method that had me drawing diagrams for the first time; I started it off with an open magic ring and kept it open as I chained, crocheted, attached into the main ring, and repeated the process. At the very end, I tightened the magic ring to achieve the shape.

I found it was a repetitive cycle of events that occurred every time I worked on a new part of the pokemon: make the basic shape, take a while making the smaller details that go on top, and then take forever to put it all together. If I think about it in retrospect, imagine how long it takes to stitch around the edges of each 2D piece and then add how long it takes to shape the attached detail into the perfect form. After realizing that, it made sense that a lot of weekends went to applying the details on.


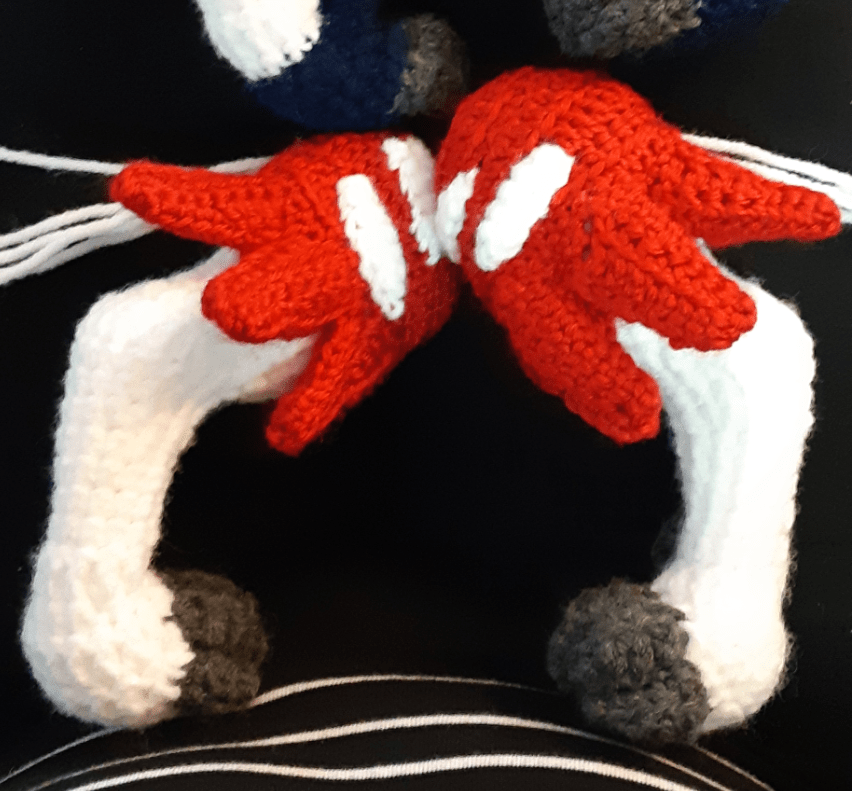
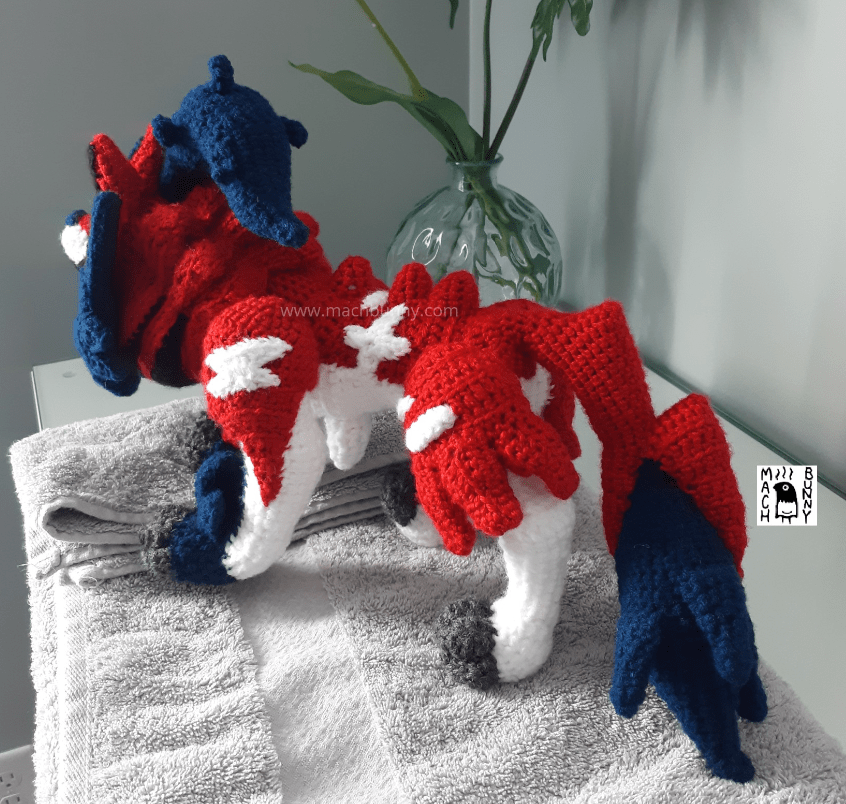
I finally came to the three ridges, but not after I had shaped and put every detail onto the legs and face. I made the claws in a more unconventional manner this time around; instead of being separate pieces, they are made by crocheting a wedge like piece. The piece would then be stitched onto the foot base and shaped with more stitching.


I kept delaying the ridges, because I knew it would take a really long time to stitch them together. I kept thinking I could complete it in half a day, but in reality it took about 2 full days to be satisfied with the result. Check out the difference between when I stitched the ridges on, versus after I shaped them to look more pointy:


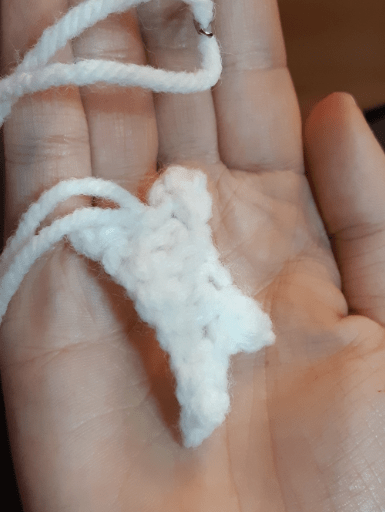
It was a test of perseverance to finish this project, because I kept thinking each day would be the last day that I needed to work on it. It was especially trying when all that remained was painting in the eyes and making the blue ponytail; I was so close, but it was almost midnight on a Sunday, and work would require waking up in 5 hours. Even though these projects technically have no deadlines, I feel like I want to finish them sooner to get excited about the next project.

I did complete Zamazenta about a week ago, but for this past week, I had been attending the annual ISAO conference. As I am writing this paragraph, I came back from the conference to my house, to Cornwall to visit my sister for family day weekend.


With such a busy week coming to a close, I finally got some photos of the final result:


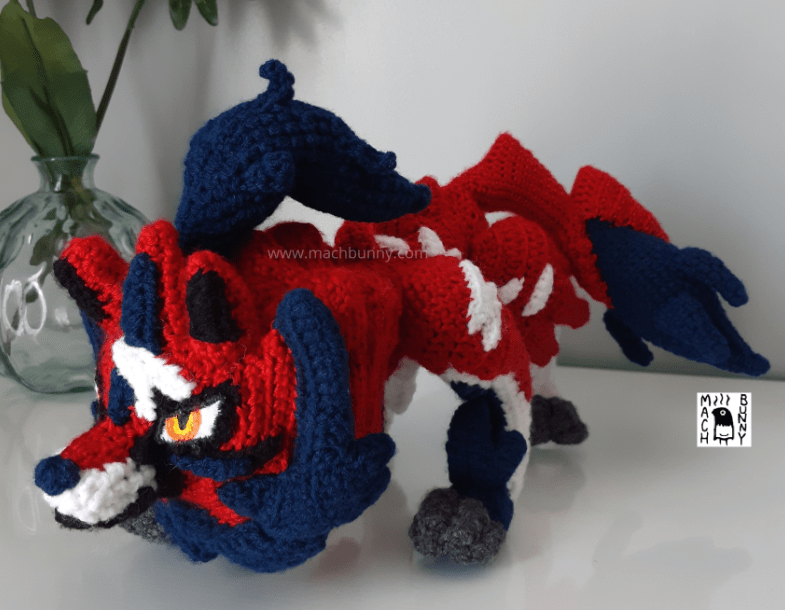


Thanks for reading!
As usual, I am onto the next project on my list – I also have a few commissions in progress, so hopefully I’ll be updating soon!
