
The topic came up as a request from Instagram a while back – how do I attach the details on the face?
Here’s a short tutorial on exactly that.
For facial details, I had always done a combination of embroidery and painting on felt pieces. Back when I started to crochet (around 2008? A while ago), there wasn’t nearly as many places where I could buy safety animal eyes or wool for felting, and I didn’t have a credit card to order things online.
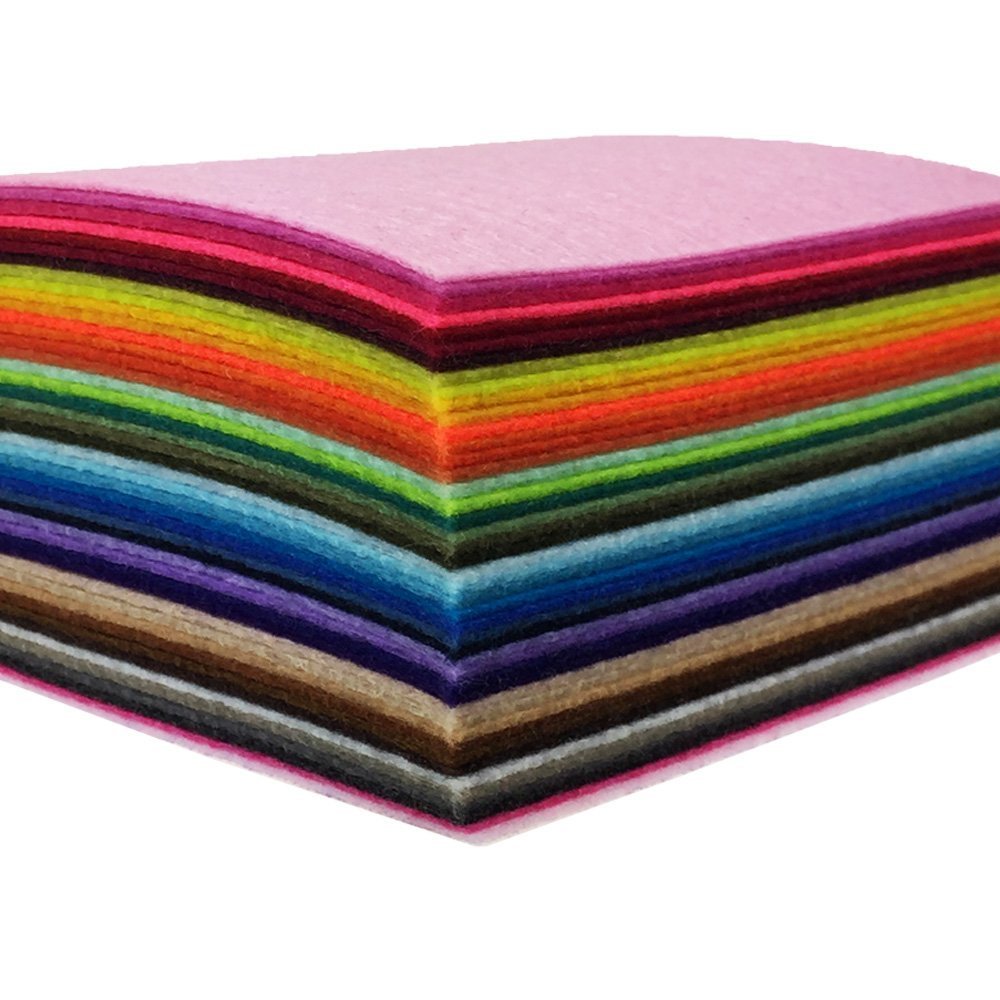
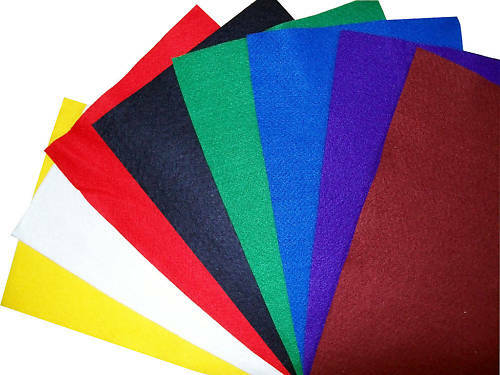
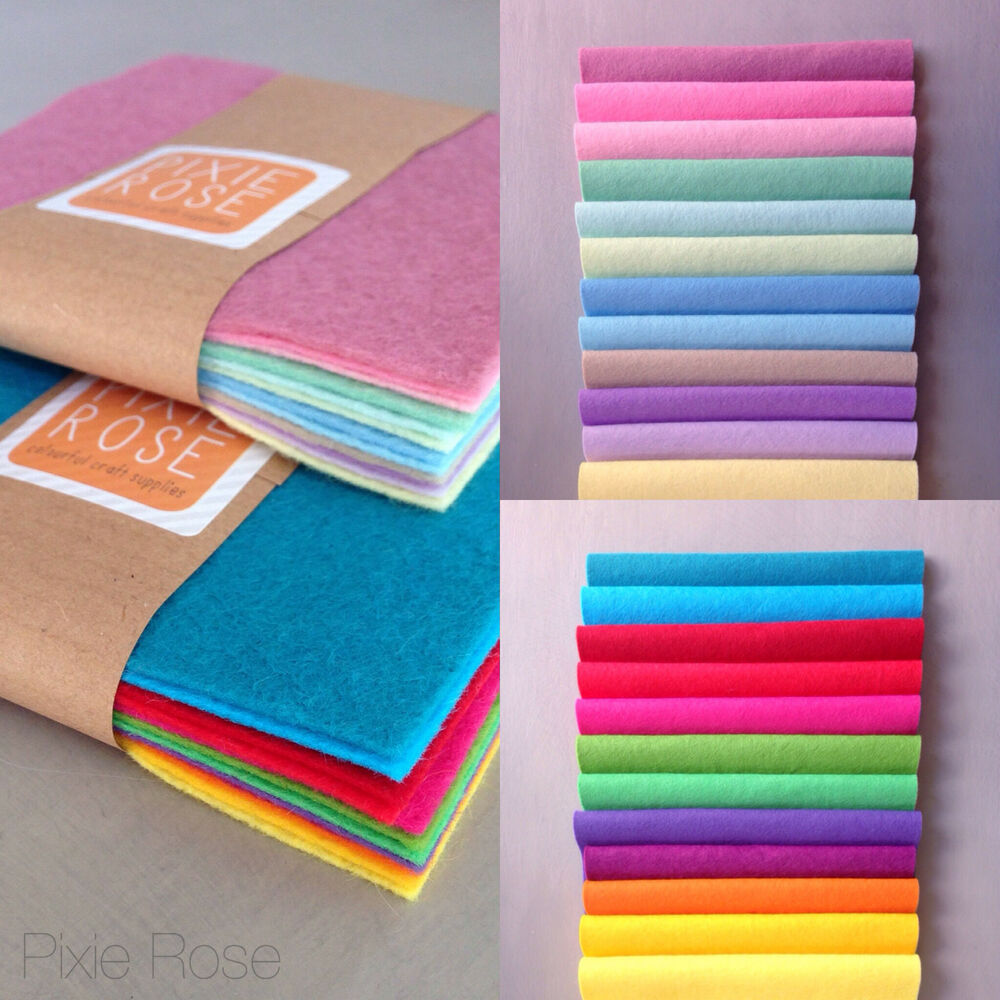
Instead of looking further, I decided to stitch on pieces of felt and paint on top of them with a thick acrylic paint. I usually work with white or black felt as the base, because almost any eye can be created from these two colours. In my example, however, I have the Midnight form Lycanroc – the eyes were made with an old piece of pink felt from the 70’s, and the white felt came from our nearby Japanese 2-dollar importer store, Oomomo.
If you do go look for felt, make sure the grain is dense and super smooth! If it’s the regular dollar store kind, there is a greater chance that the eyes will be stretched thin when it is stitched in place, or the paint will not coat evenly on top. I say this with experience from some of my previous projects, even as recent as last year.

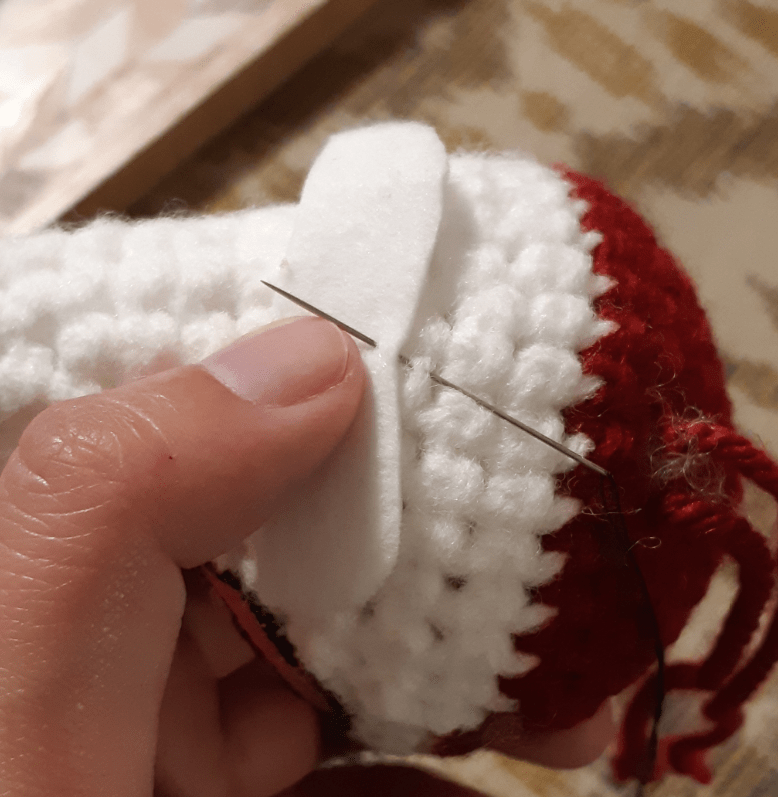
When cutting out the base shape, I go for a slightly bigger shape than what I plan to have in the end. The stitching around the eyes takes up about 2.0mm to 3.0mm, and it is a lot easier to trim any excess with a bigger piece. Once I like the shape, I place the pieces onto the head to check the proportions and positioning.

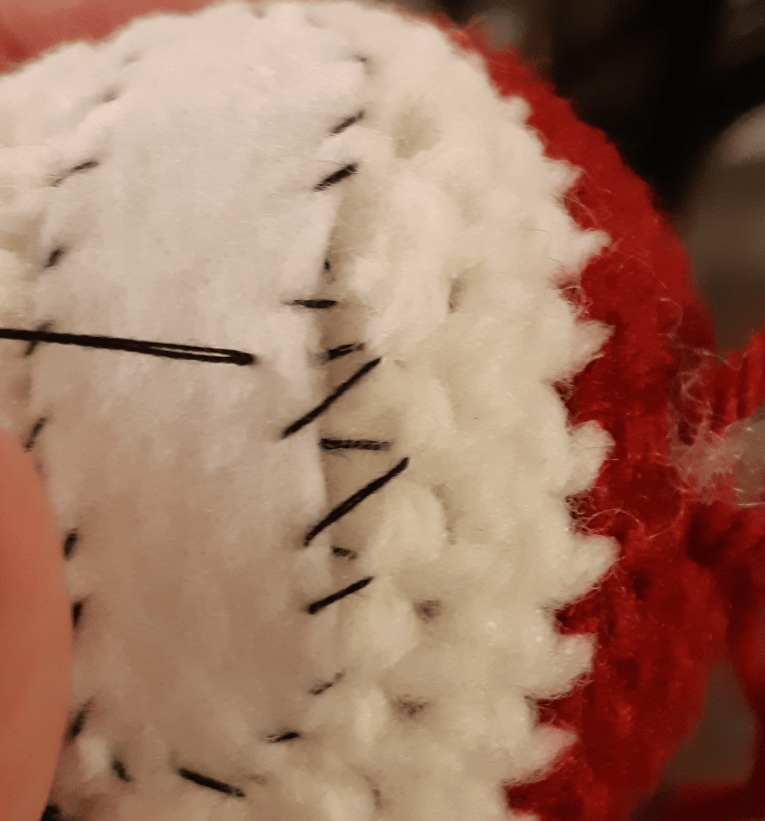
To keep them roughly in place, I do a loose stitching around the edges onto the face. The secret to keeping the shape flat is to aim at the closest peak of the crocheted fabric, just outside the felt’s outline. The stretch between the fabric and felt lets it stay level with the piece – you can see how the first round of stitching keeps the mouth in place:

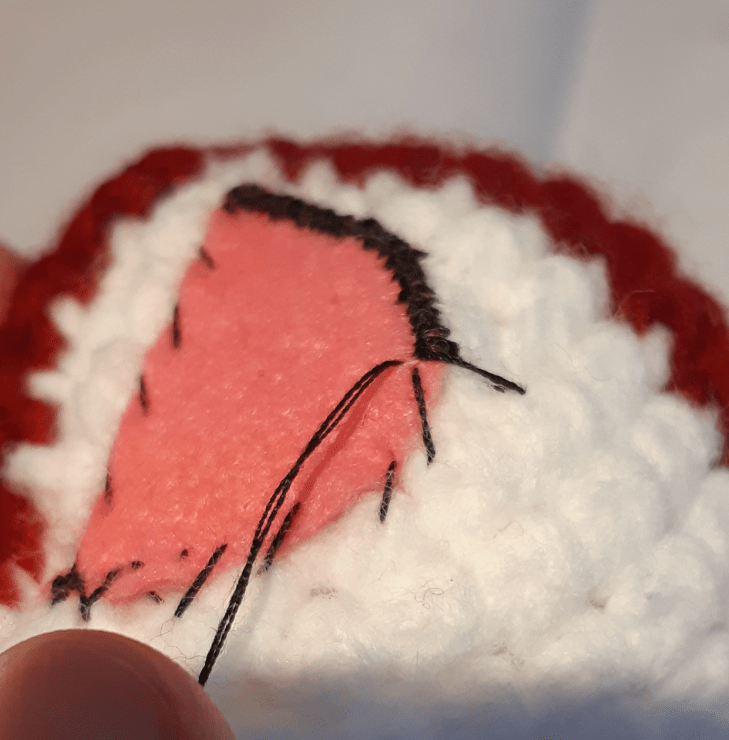
At this point, it is best to roughly mark out where to paint the inner eye parts (or in this case, the eyes and the mouth):

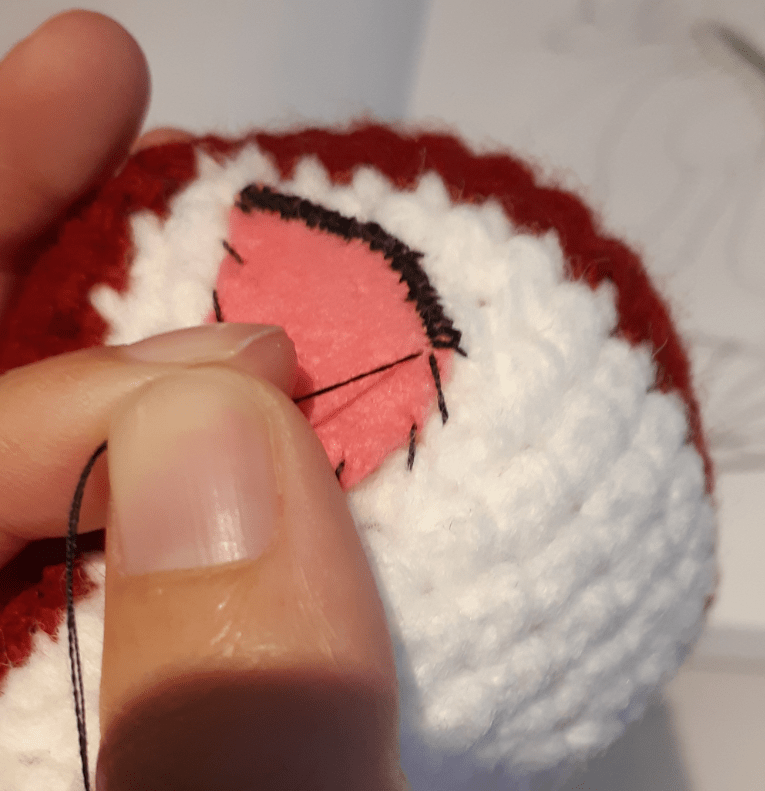
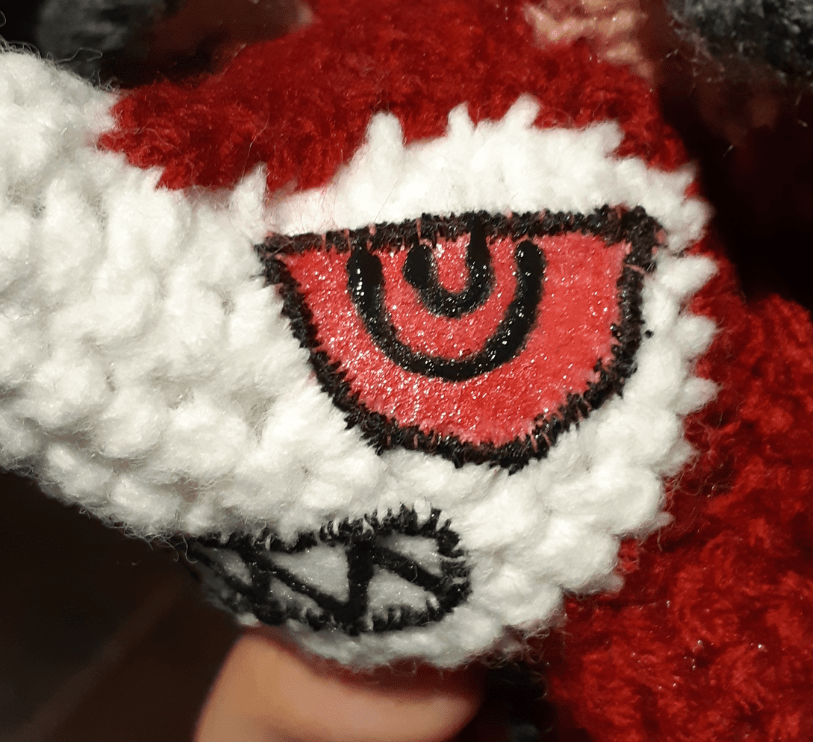
Once the pieces are secured and marked with pen, the next round of stitching continues along the edges of the felt. I found that the easiest way to keep the edges looking smooth was to move in a clockwise pattern and place each stitch as close to the previous one as possible. If the first round of stitches have been placed securely enough, this part becomes a lot easier to do; in a sense, the first round establishes the base of the detail, and the second round tucks it in.

Next up is selecting the paint – I have some old liquitex paints, some metallic folk art acrylic paint, and a tube of black fabric paint that I usually use. These size tubes of paint can easily last me for years, I think I bought them back in the 2000’s.


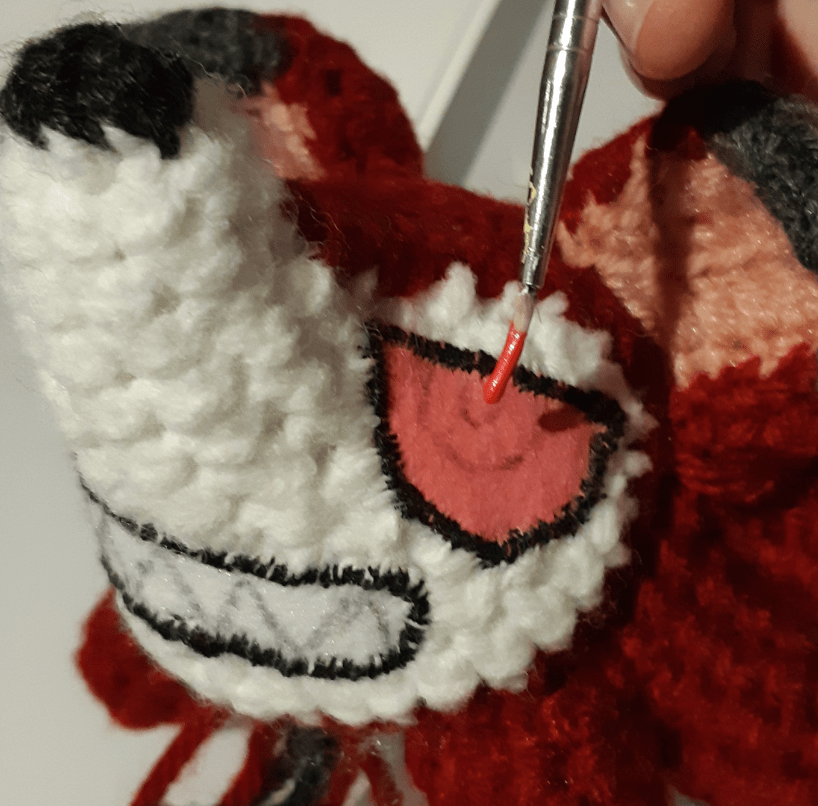
The nozzle tip helps with the outlines, while the other colours are diluted a bit with water (like a drop of water in a small blob of paint) with a small paintbrush. If the paint looks a bit too lumpy when it is applied onto the felt, more water should help it smooth out. Sometimes I mix the water into the paint on a piece of paper/palette to ensure it is nice and smooth in application; I do this a lot when I’m mixing a specific colour together.

The pen lines stay pretty visible, so they can only be covered with a dark or thick coat of paint. The fabric paint does a pretty good job covering the lines, which makes sense to use the pen lines as guidelines for the outlines. With the above picture, I just realized that I forgot to mention that it is best to have the palm braced against something while painting the crocheted piece.
Since I don’t have both my hands while I take pictures, it is difficult to show how I hold the pieces – imagine the non-dominant hand holding the piece, while the side-palm of the dominant hand is braced against the tip of the other hand’s fingers. This sort of grip helps me keep the small brush steady; as long as you can brace your dominant hand onto something, the application of details runs a lot smoother. I also use small strokes to “dab” the paint onto the felt, because it tends to absorb before it allows the paint to flow over. Every time I dip for more paint, I expect to cover maybe a quarter of a 1.0 cm squared area.

If you don’t like how the nozzle tip leaves a rounded edge at the end of a line, you can quickly go over it with a small paintbrush to push the paint to sharpen the final look. Sometimes I get lazy and use the tip of the nozzle to push the paint around instead, but you risk getting other colours into the paint tube.
So that’s the gist of it on how I make the felt and paint details of my amigurumi dolls. I hope you enjoyed the mini-tutorial! Maybe I’ll have some more tips and tricks featured in the future.
