

Between Mother’s day and Victoria Day, I decided to make Nidoqueen! It was another full-day affair to complete this one.
Things were pretty busy this past week – I ended up resting every day after work and didn’t get much of the amigurumi completed.
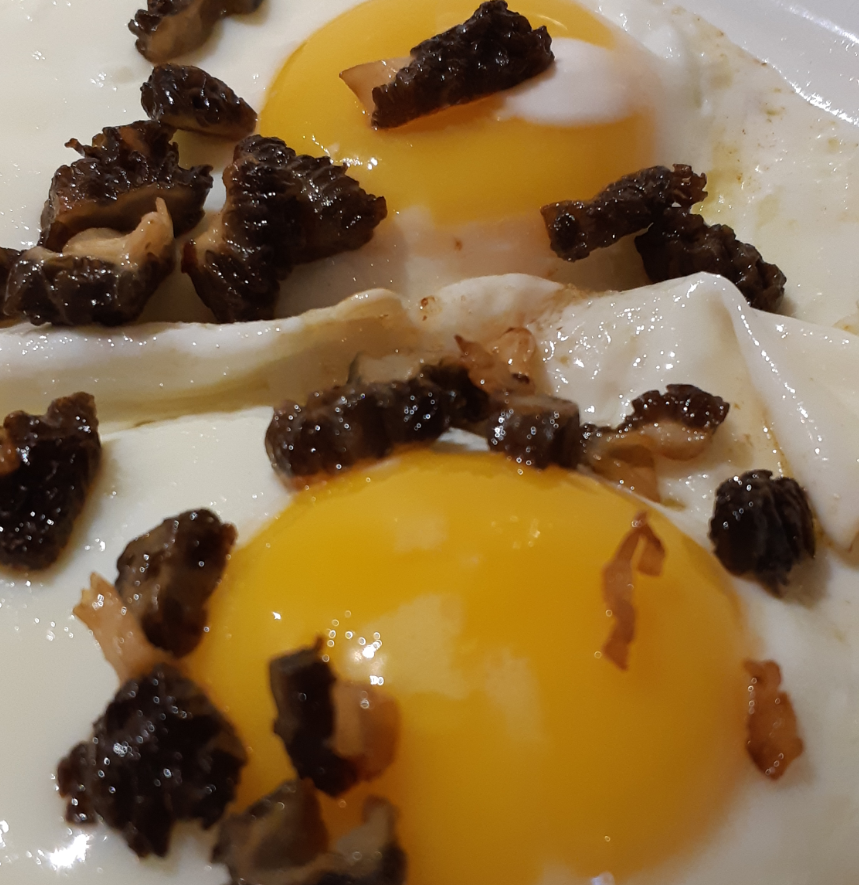
I also got distracted with finding my first morel mushroom, which tasted as good as I imagined! The single mushroom was cooked in butter and then it was topped on some eggs.

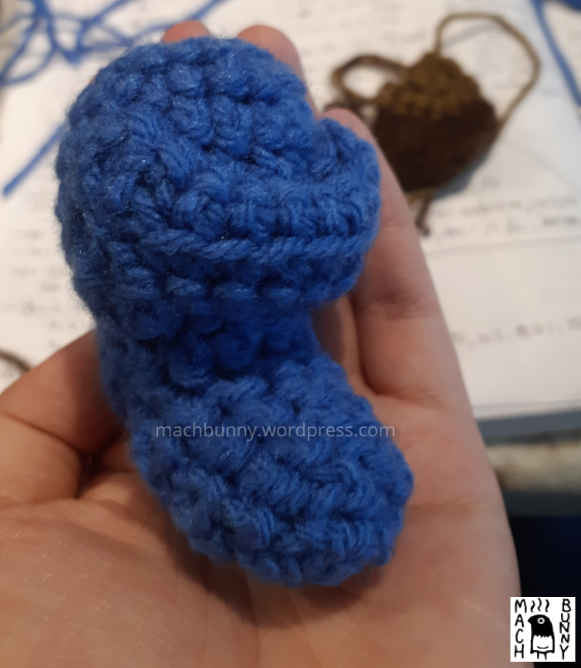
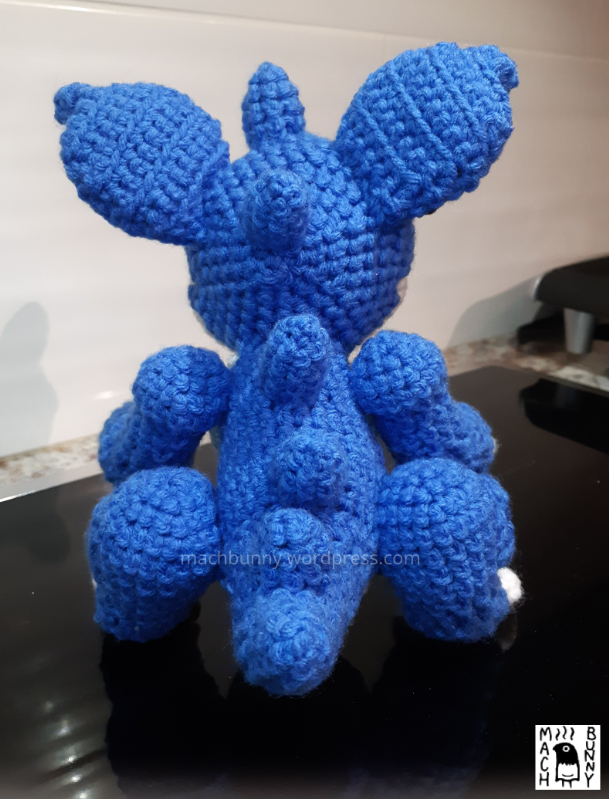
I made the head and chin as separate pieces and combined them together to form the back of the head. It looked a bit too round and it stayed like that for days; I guess it was sort of discouraging to look at.

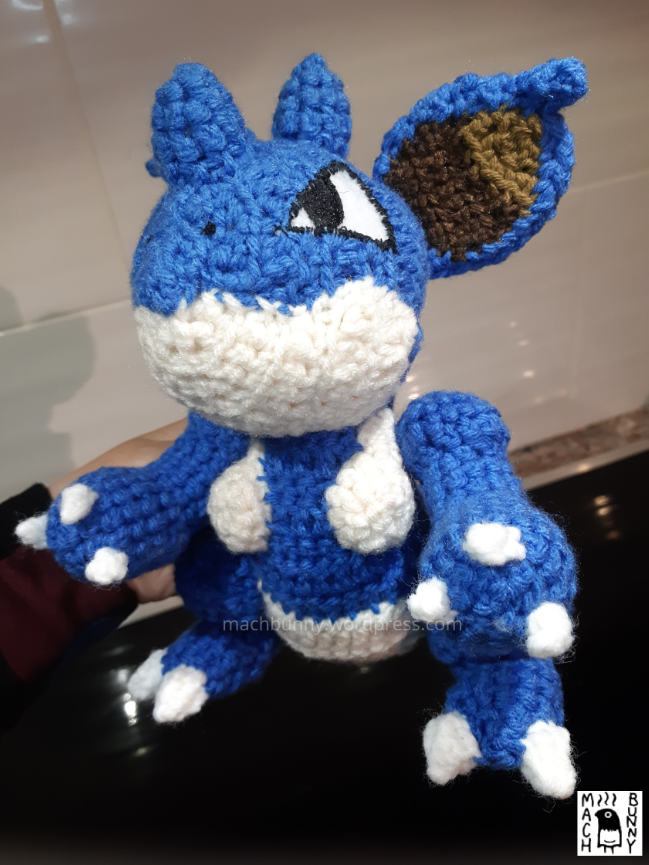
As I’ve mentioned before, if the base pieces don’t look as good as you imagined, the details can bring the look back together. Once the ears, horns, and eyes were attached, it was smooth sailing from there. The same thing can be said for the body, which looked a bit too narrow at first.
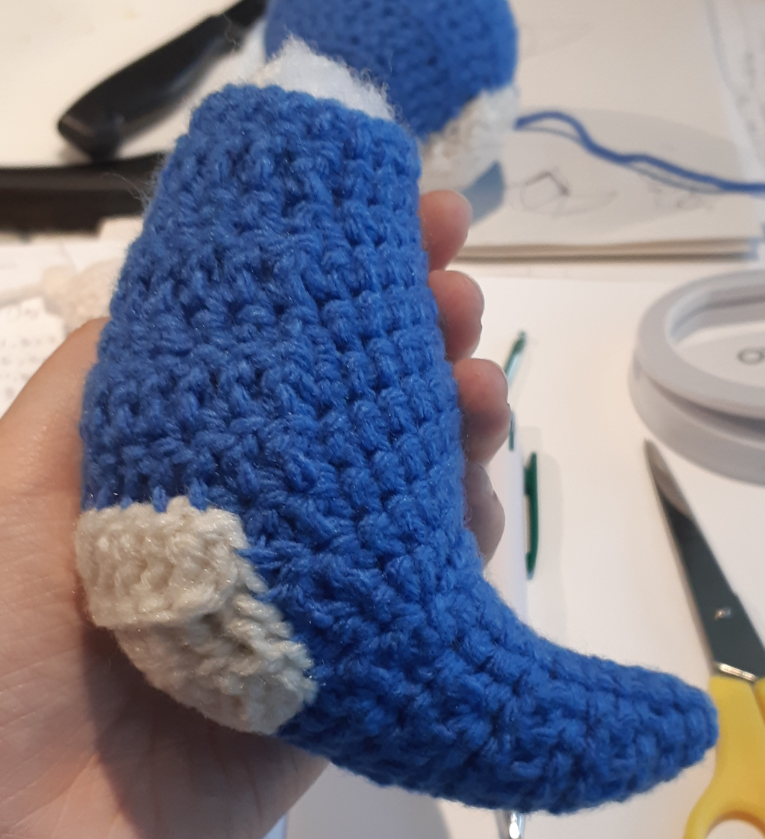
One new method I tried was for when I was making the legs; I turned over midway through a round, and then turned over again to resume the round. I also crocheted on the outer edge of the round to make a crease at the foot.
I didn’t feel the crunch this time around! Here’s the result from crocheting today:


Thanks for reading!
