
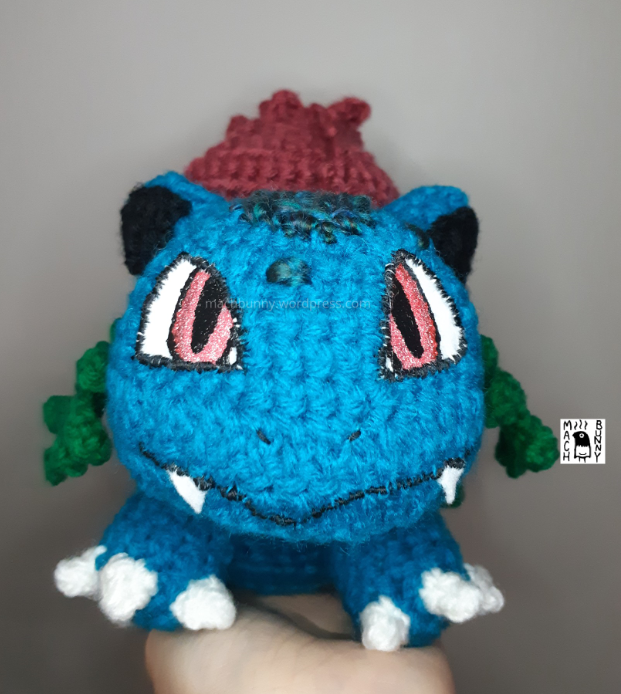
This week’s plush is ivysaur! It was chosen out of a three-way tie result, for which pokemon grass starter to crochet this week.
All the colours I used on thos plush were found in my storage; I felt like using these colours, because they had not been used in a long time. I noticed that a lot of my pokemon use the same blues and green, so I’m giving the colours a break.
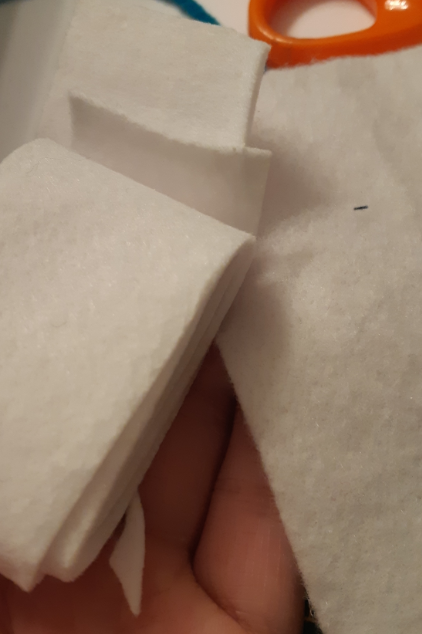
I also went to a store that recently opened up in my area, Oomomo! They sell a lot of Daiso products, which are essentially Japanese dollar store items. I went ahead and bought a roll of white felt, and I am astonished at how much nicer the quality is compared to the felt I had. I don’t think I’ll ever buy felt from anywhere else.

For the head, it was an adjusted version of the head I made for detective pikachu. I also closed it off at the bottom, to match that flat chin look; I added the felt eyes and other features at this point. The new felt was so easy to work with! None of it stretched or thinned out as I fastened it into place. The paint also applied onto it without any fuss.

I find that the bulbasaur line has a strange body plan; despite this, I made the body separate from the head. My style is all about making a big head and small body, but it could have looked weird, changing it from the original design with the head morphing into its flattish wedge-shaped body. Luckily, I think you can still recognize the pokemon in this form.

Next were the legs, which I also think adds to its strange body plan; there aren’t any elbows or knees in the official art. I like this pokemon, but I find the body so strange from an anatomical point of view. The legs were pretty straightforward, and the back legs had some extra double crochets near the top to allow them to jut out from the wedge-butt.


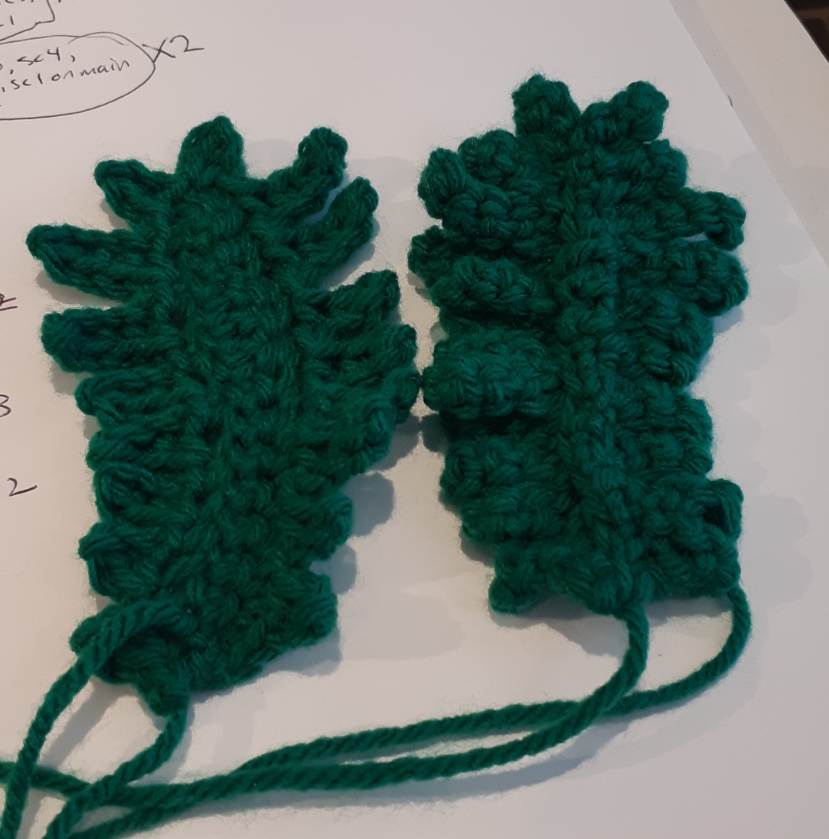
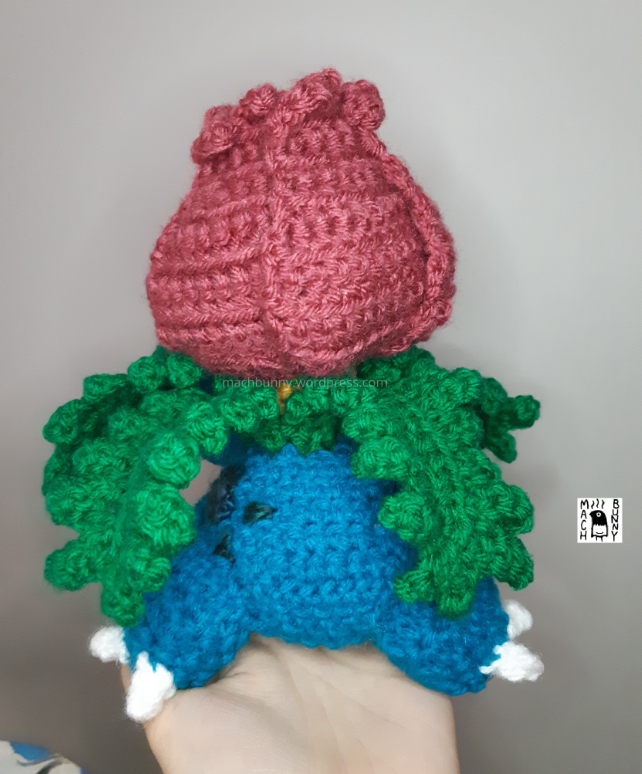
The flower came together nicely, and the twisted effect from the petals came naturally from the tension. The leaves took a while to figure out; first I thought I could fit a chained appendage on each crochet, then I thought I could alternate between using one crochet and skip the other. I ended up skipping one crochet every time I completed a chain appendage, so that it wouldn’t bunch up like crazy.


With all the parts assembled, here are the results!


Thanks for reading! I hope I’ll be back on track with the posts.

I love how you made your Venusaur. I’m starting one now and I don’t know how to make those leaves. Do you have any advice. I have that pattern but I don’t understand the leaf part.
LikeLike
Hi Shiela, sorry I haven’t responded to this message for a while, I just saw it in my feed – in a nutshell, the leaf was created by starting out with a chain, partially making a row, and then chaining more; repeating that a few times before the original row is completed.
LikeLike