
What a series of events it was last week! Busy as usual, getting work done, trying to exercise 3 times a week, taking pottery on Thursdays and cooking on weekends. This past weekend was Father’s Day, so more time went into the occasion; I also made Nidoking to match my Nidoqueen for Mother’s Day.
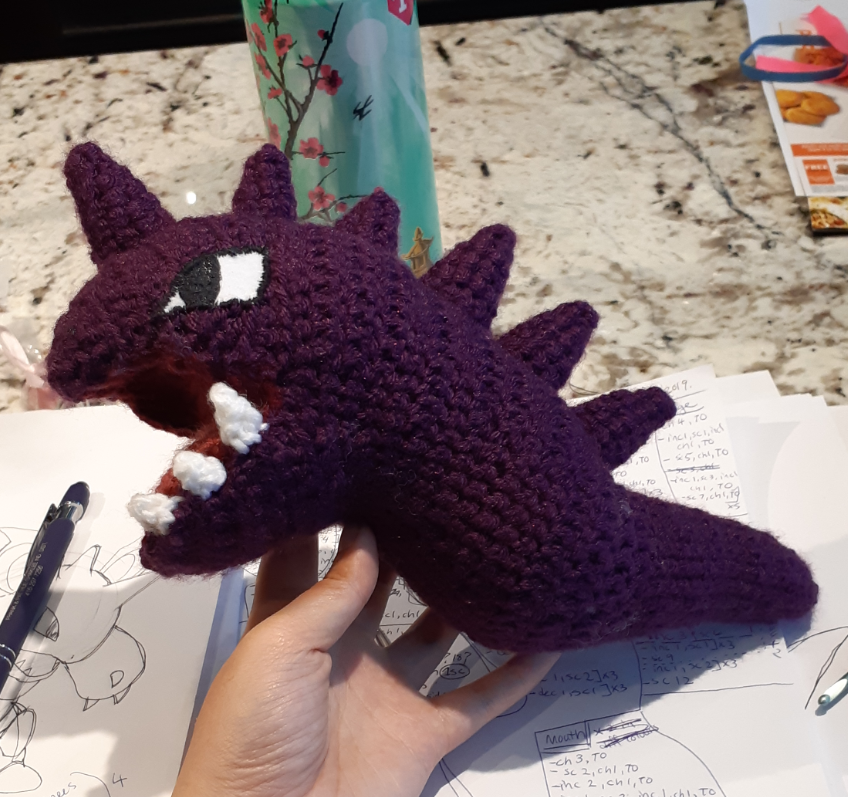
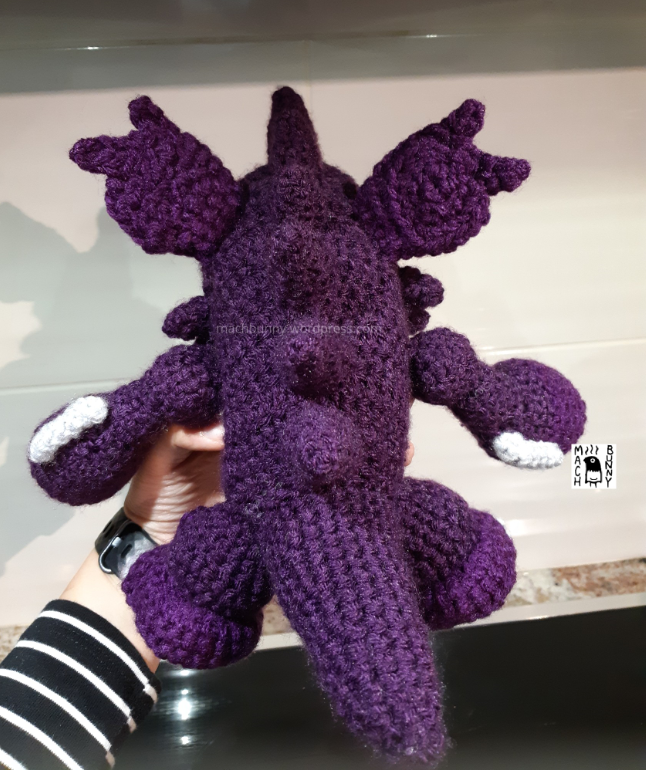
I made it a goal to have the body look distinct from Nidoqueen’s body; stepping just out of my typical style, I decided to make the head and body as one shape. The hunch is a key component to this pokemon!

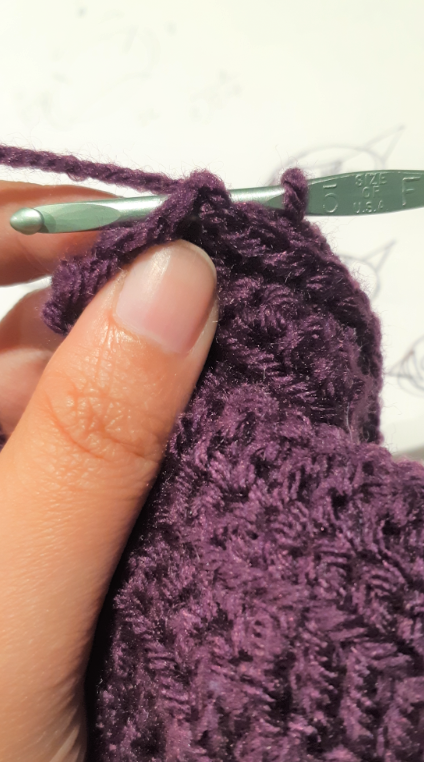
This portion took a lot longer than I thought it would, since it involved comparing the size with Nidoqueen, experimenting with one half of a round on increases and the other half on decreases, and tweaking the double crochets with the “synching of half the round”. I dont actually know what to call it when you double crochet one half of the round and then single crochet the other half on “beyond the top round and between the second layer of rounds”; it would be helpful to know if it is an official technique that I can reference.
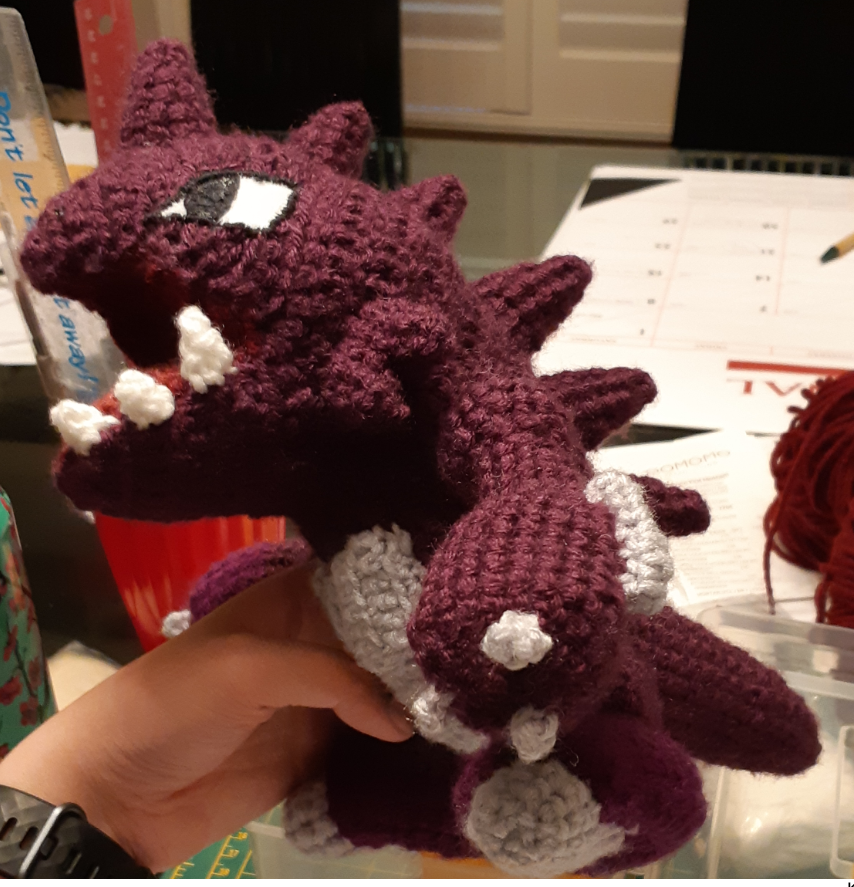
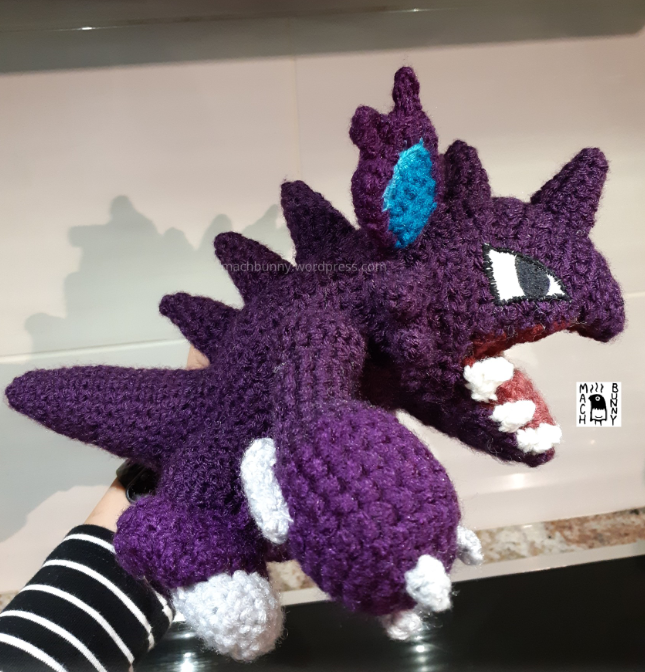
Every detail I kept adding during the process made me think I was making a purple Godzilla. First I made the spikes, then the arms and legs, and then the details on top of these appendages. It was only until the ears were added that it looked like nidoking.


Also, about 3/4 of the way I ran out of my purple yarn, which I bought several years ago. I found a close match, but it wasn’t the exact same; I guess that’s the risk that comes with using old leftover yarn.

The ears were tricky in that I decided to experiment again; instead of making separate pieces, all the parts were held together by crocheting. The inner ears were originally flat pieces, while the outer portions of the ears were crocheted into a round; the edge of the inner ears were used as a starting base for the outer portion. It turned out better than I expected, and somehow the opposite ear could use the same pattern, as long as the inner ear was flipped and I was aware that I was trying to keep the better side exposed (I forgot to take a photo of the ears, oops!).
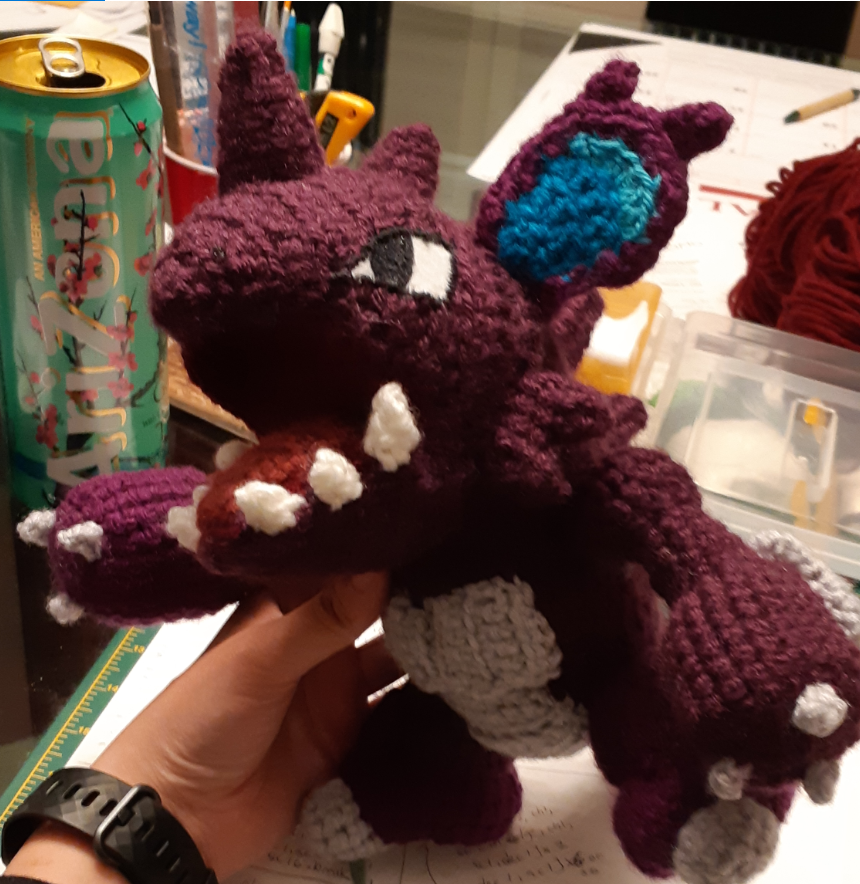
Here are the results, after a long busy week!


Thanks for reading! Next weekend I will be going on a hiking trip around Owen Sound and Tobomory, so you may see some of that.

do you have written pattern for this?
LikeLike
Currently, it is written inside a notebook; I’m not sure when I’ll be able to turn it into a digital file, I think it would depend on whether I can find a good flow to get them transcribed
LikeLike